Check out our Crew Member course on Hours+ in Learning On-Demand. |
Employees can create and submit their own timecards. All other roles have employee permissions by default.
This article shows you how to perform this task in both Classic and New experiences.
Steps for Classic Experience
Logging in
Your login credentials are active only after receiving and accepting the project invitation email from the system. Visit https://hoursplus.castandcrew.com/ to go to the login page.
If you’re new to Cast & Crew, you can learn how to register for an account here.
Creating a timecard
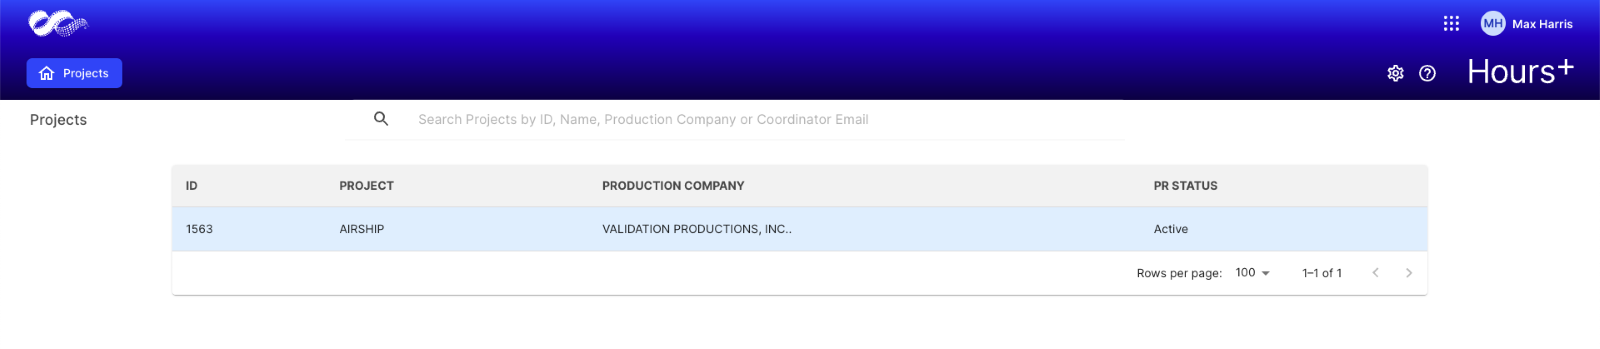
- After logging in, select your project from the list.
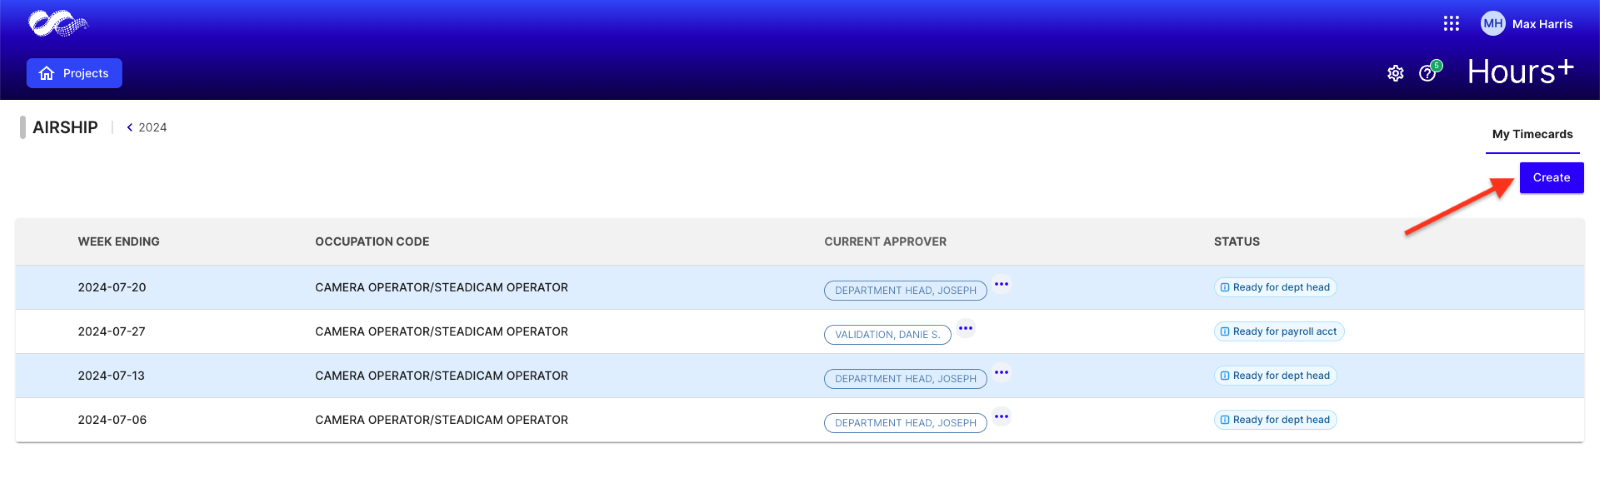
- Click Create on the "My timecards" screen to begin a new timecard.
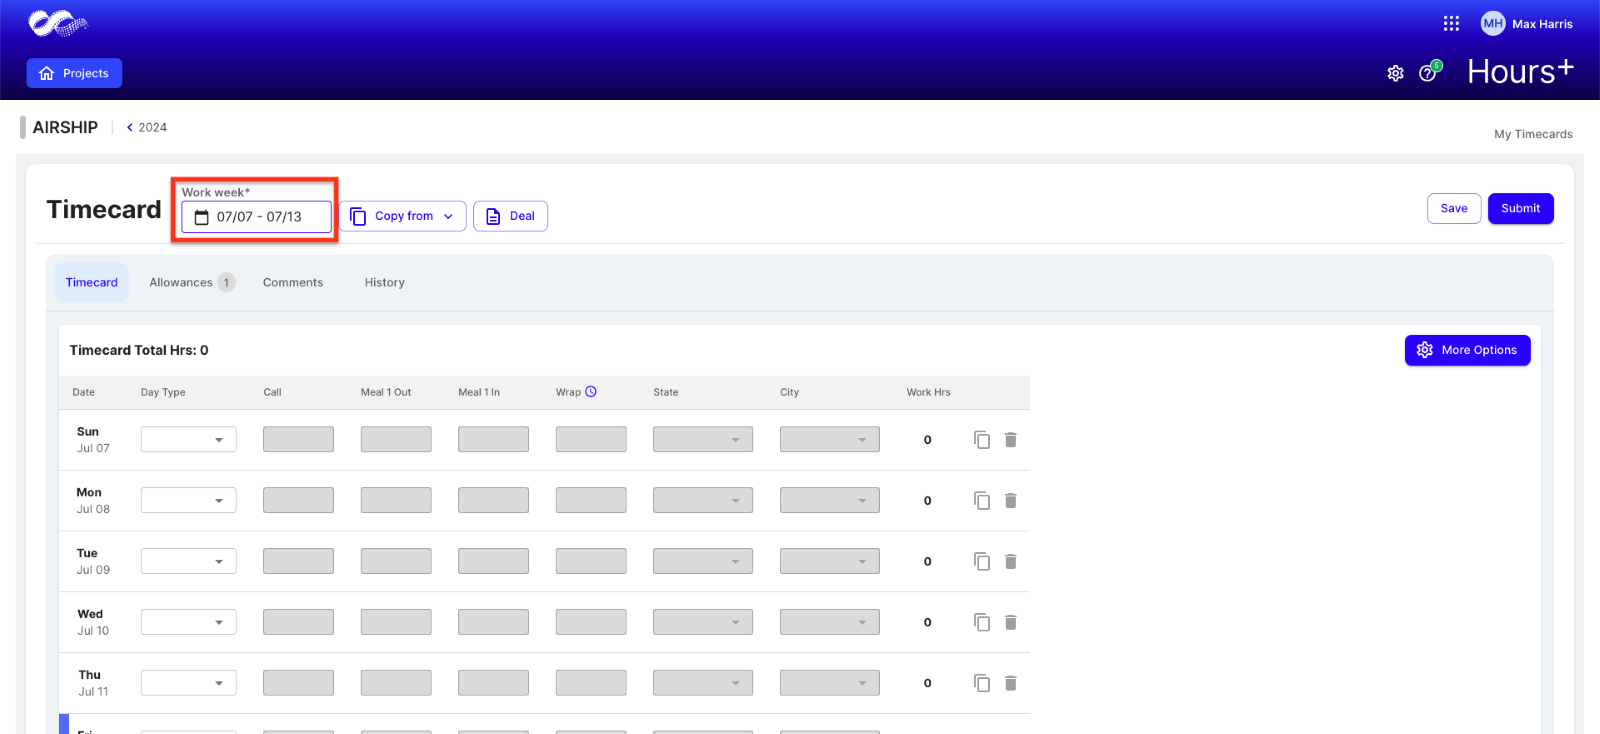
- Verify that you are creating a timecard for the correct work week and change it if necessary.
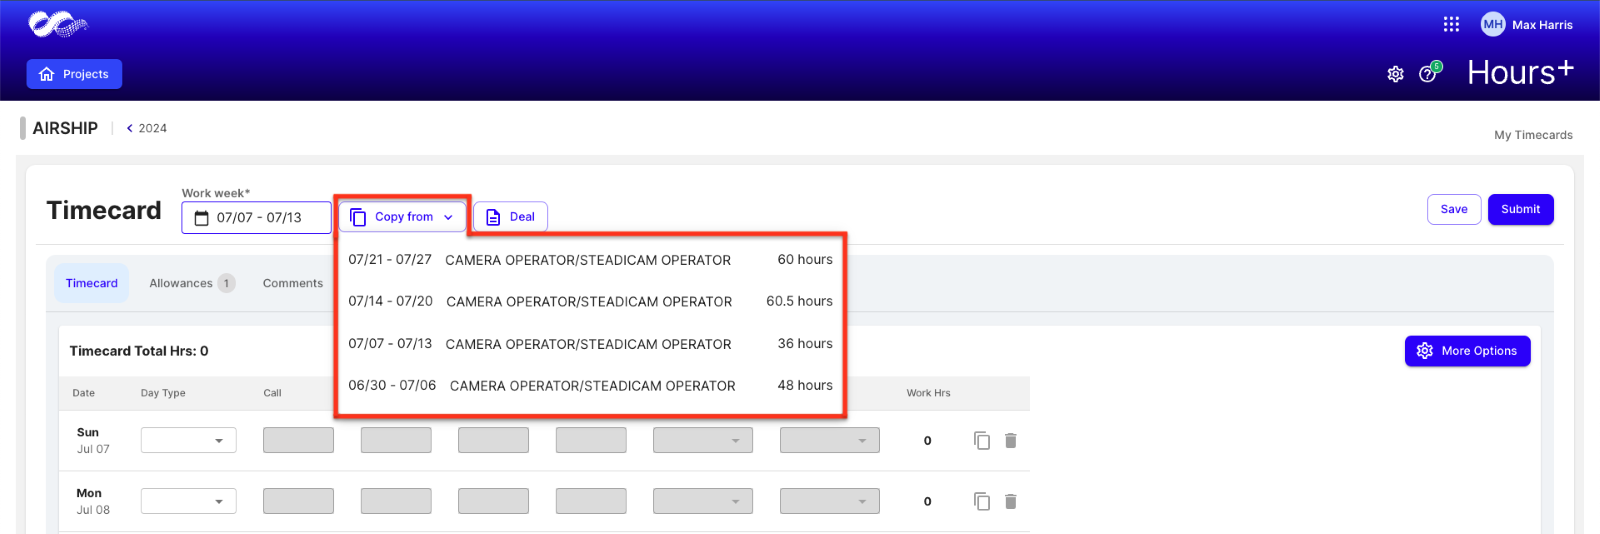
- If a previous work week was similar to your current one, you can copy times from a previous timecard with the Copy from dropdown:
- If you have signed more than one deal memo, click the Deal button to make sure the correct one is selected for the week.
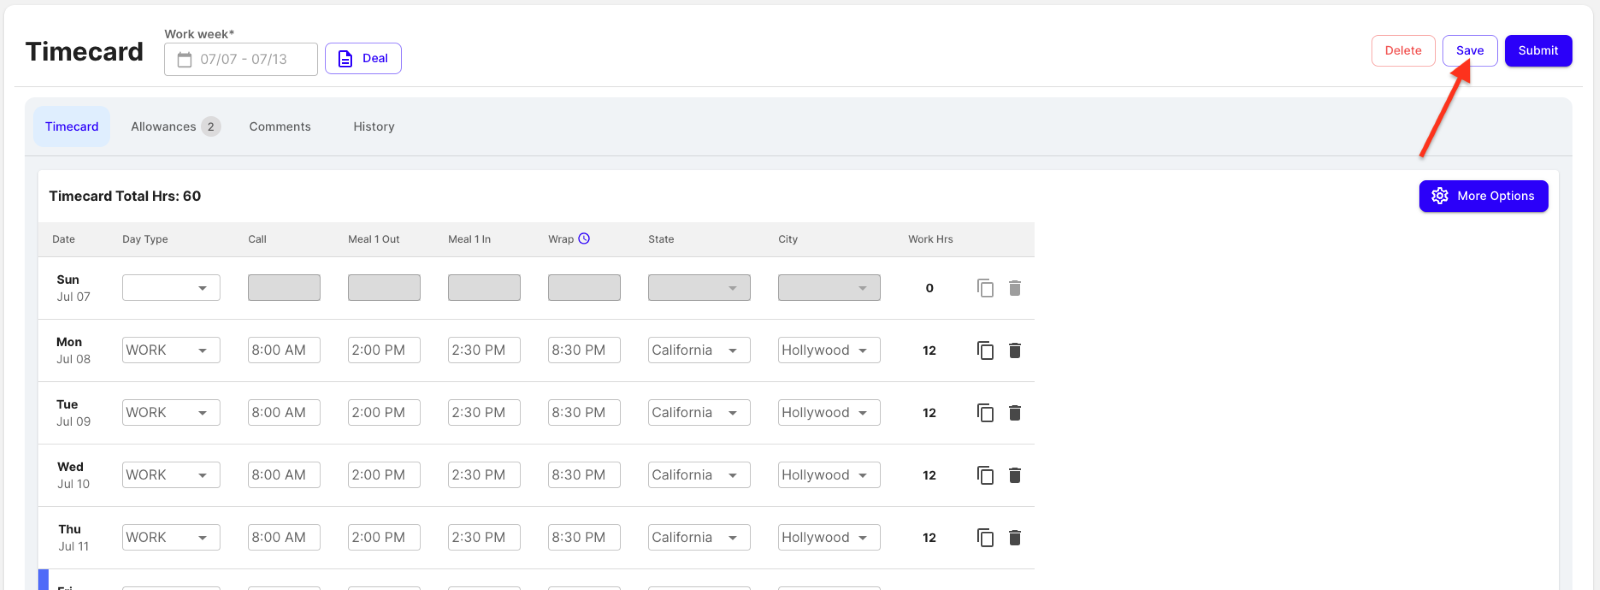
- With those settings complete, begin entering times on your timecard.
- Ensure you enter times for the correct days you worked.
- The current day of the week has a blue line to the left of it.
- Start by entering your Day Type.
- Day Types may differ based on your specific contract, so reach out for your production-specific defaults. To view a guide of the most common day types, click here.
- Day Types may differ based on your specific contract, so reach out for your production-specific defaults. To view a guide of the most common day types, click here.
- Now you can enter your times for Call, First Meal Out, First Meal In, and Wrap where applicable.
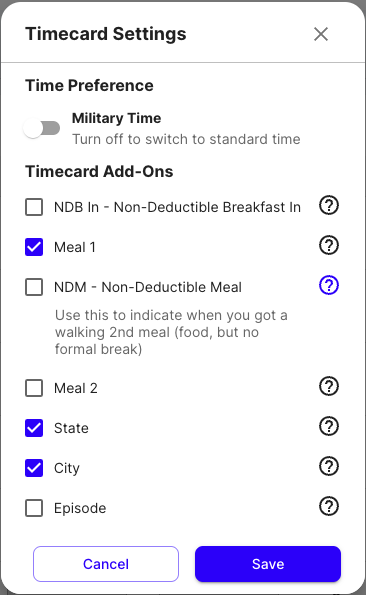
- If you’d like to turn off Military Time or need additional fields, such as NDB In and NDM, you can add them from the More Options button in the top-right corner of your timecard.
- You can click the 'Copy' button next to any day of the week to copy those times to another day:

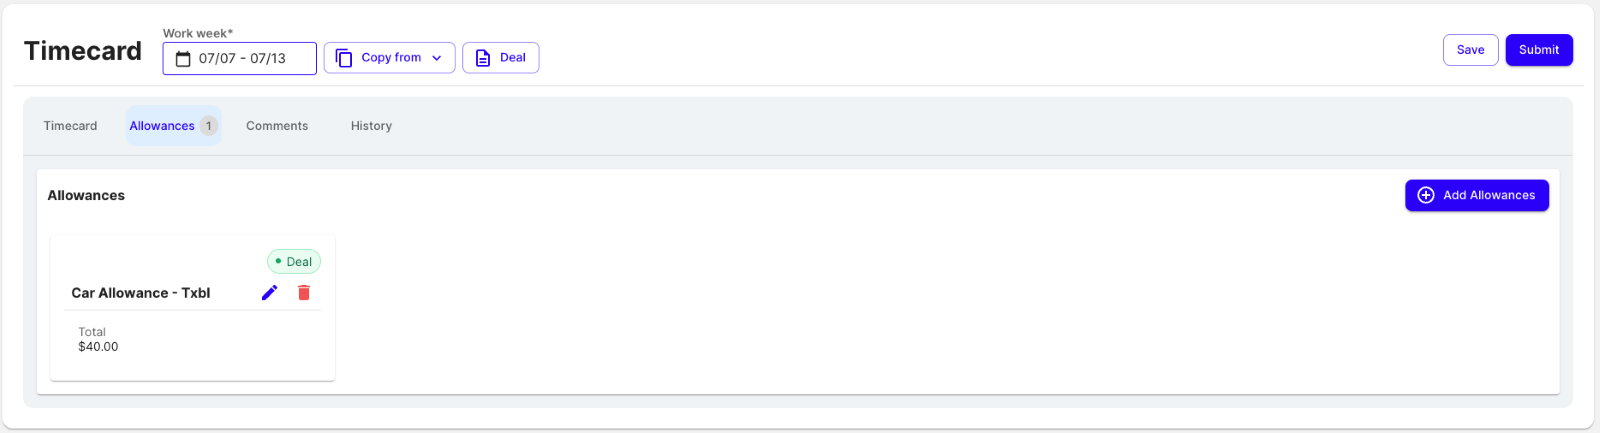
- Click the Allowances tab to enter any allowances/expenses and attach supporting documents.
-
Note: On most shows, allowances will be automatically added and calculated based on your deal memo. You can add additional ones if needed by clicking the Add Allowances button.
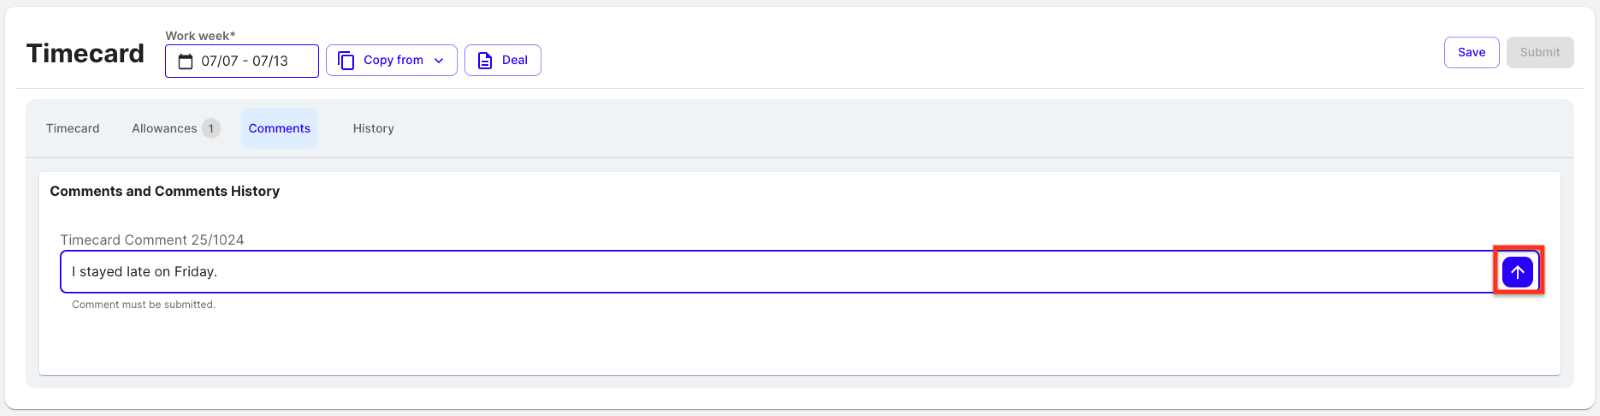
- Click the Comments tab to enter any additional notes for your timecard approver. Click the Arrow button to submit them.
-
Note: On most shows, allowances will be automatically added and calculated based on your deal memo. You can add additional ones if needed by clicking the Add Allowances button.
- Click Save to come back to this timecard and complete at a later time.
- Once you're ready to submit, click Submit.

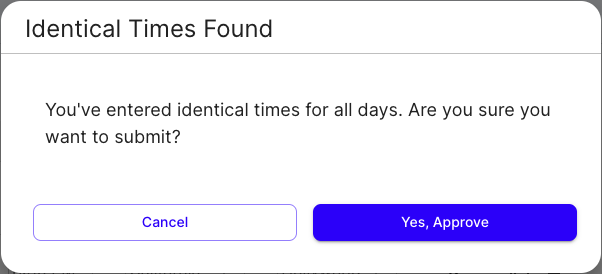
- If you utilized the "Copy" function, a confirmation dialogue will show. Click Yes, Approve.
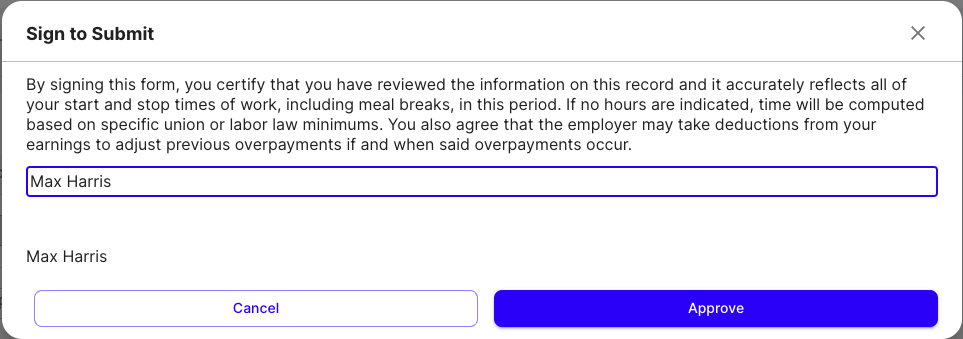
- Type your name to sign your timecard.
- Click Approve to submit your timecard for review and approval.
Steps for New Experience
Logging in
Your login credentials are active only after receiving and accepting the project invitation email from the system. Visit https://hoursplus.castandcrew.com/ to go to the login page.
If you’re new to Cast & Crew, you can learn how to register for an account here.
Creating a timecard
- After logging in, select your project from the list.
- Click Create on the "My timecards" screen to begin a new timecard.
- Verify that you are creating a timecard for the correct work week and change it if necessary.
- If a previous work week was similar to your current one, you can copy times from a previous timecard with the Copy from dropdown:
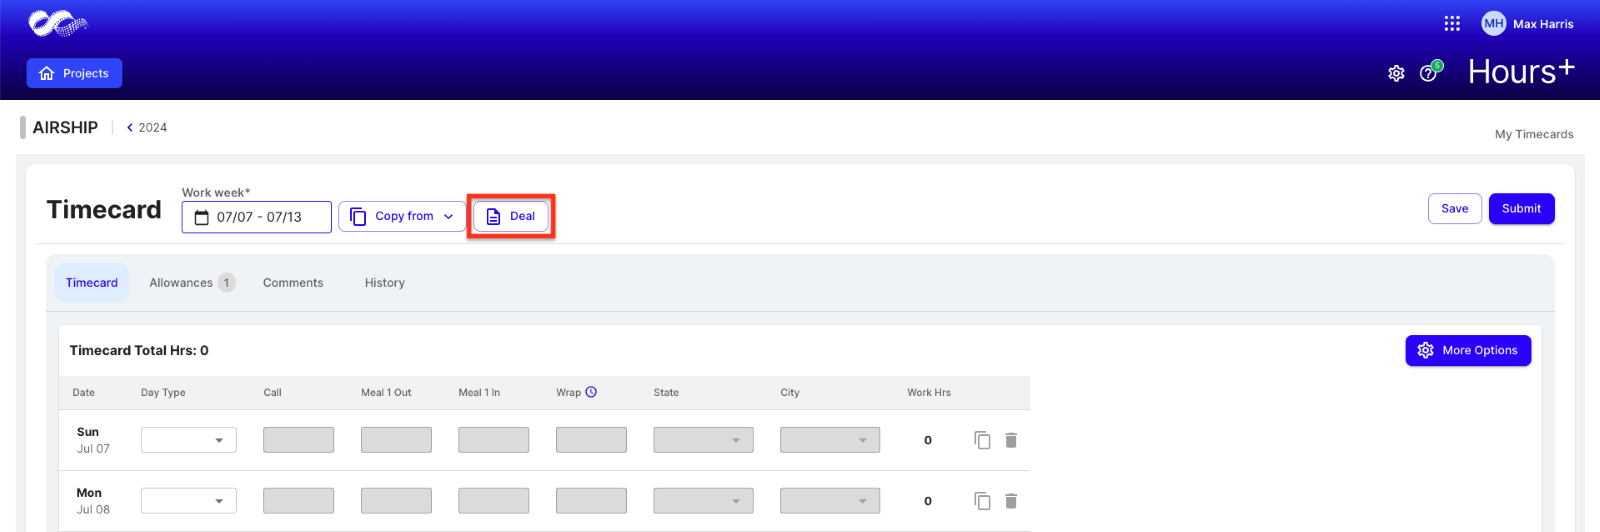
- If you have signed more than one deal memo, click the Deal button to make sure the correct one is selected for the week.
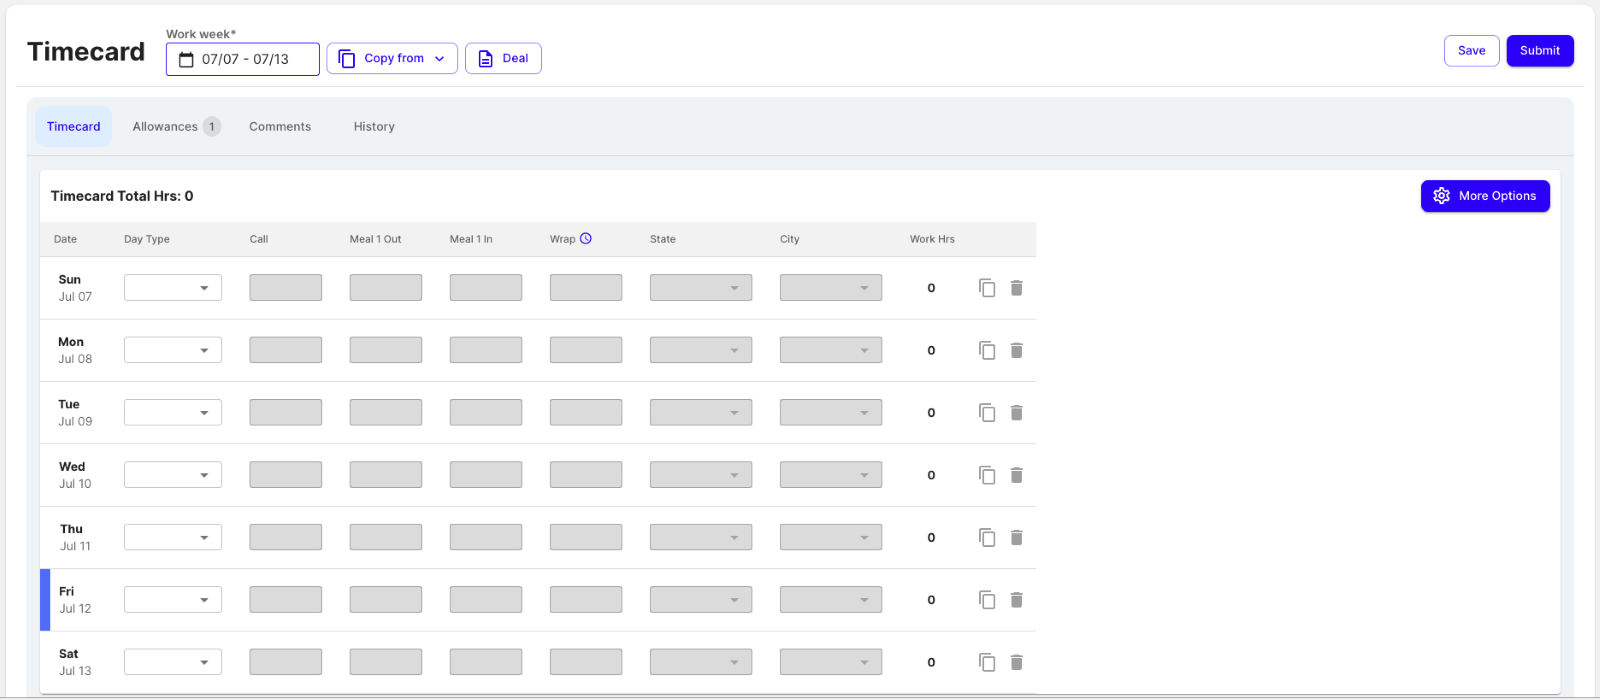
- With those settings complete, begin entering times on your timecard.
- Ensure you enter times for the correct days you worked.
- The current day of the week has a blue line to the left of it.
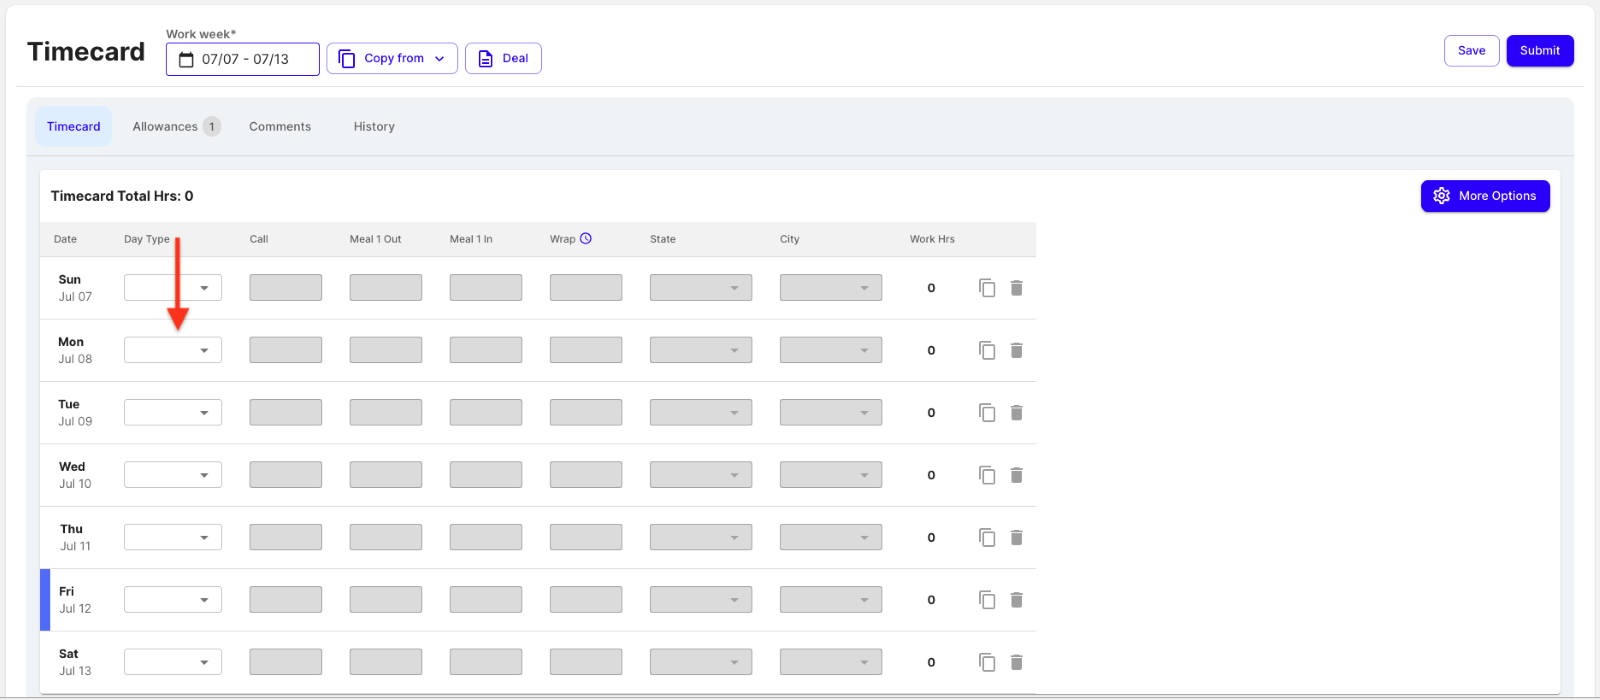
- Start by entering your Day Type.
- Day Types may differ based on your specific contract, so reach out for your production-specific defaults. To view a guide of the most common day types, click here.
- Day Types may differ based on your specific contract, so reach out for your production-specific defaults. To view a guide of the most common day types, click here.
- Now you can enter your times for Call, First Meal Out, First Meal In, and Wrap where applicable.
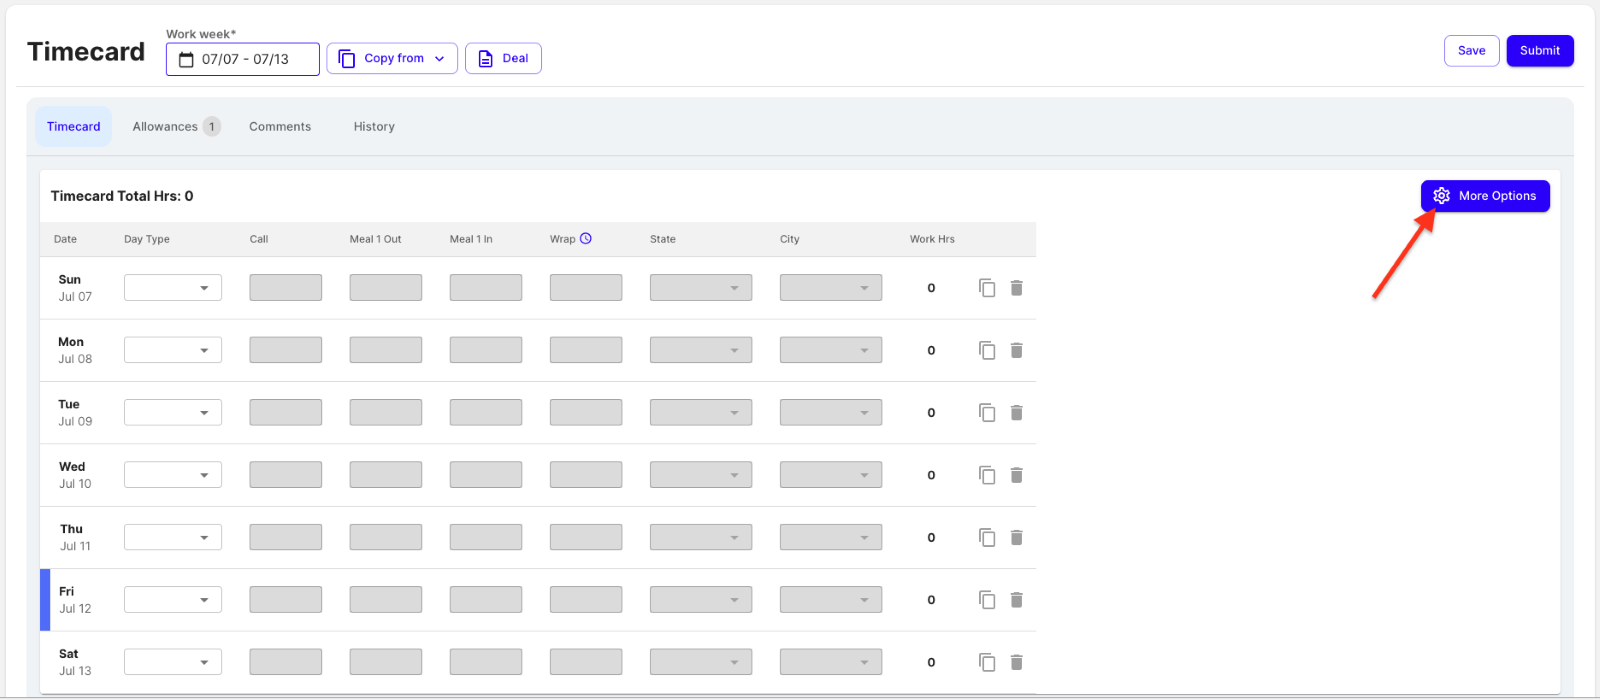
- If you’d like to turn off Military Time or need additional fields, such as NDB In and NDM, you can add them from the More Options button in the top-right corner of your timecard.
- You can click the 'Copy' button next to any day of the week to copy those times to another day:
- Click the Allowances tab to enter any allowances/expenses and attach supporting documents.
-
Note: On most shows, allowances will be automatically added and calculated based on your deal memo. You can add additional ones if needed by clicking the Add Allowances button.
- Click the Comments tab to enter any additional notes for your timecard approver. Click the Arrow button to submit them.
-
Note: On most shows, allowances will be automatically added and calculated based on your deal memo. You can add additional ones if needed by clicking the Add Allowances button.
- Click Save to come back to this timecard and complete at a later time.
- Once you're ready to submit, click Submit.
- Type your name to sign your timecard.
- Click Approve to submit your timecard for review and approval.