| Check out all of our Studio+ courses in Learning On-Demand. |
When you’d like to share files with your payroll coordinator, upload them to the TO Cast & Crew folder. You can upload files individually or in bulk.
From the TO Cast & Crew folder, your coordinator can view, print, and move these files. Note that coordinators cannot delete files from this folder.
| NOTE: It is important that files you would like to send to your coordinator are uploaded only in the TO Cast & Crew folder. If they are uploaded in a different folder, your coordinator may not be notified. |
This article shows you how to perform this task in both Classic and New experiences.
Steps for Classic Experience
- Navigate to the relevant project by selecting the organization producer production company folders as needed.
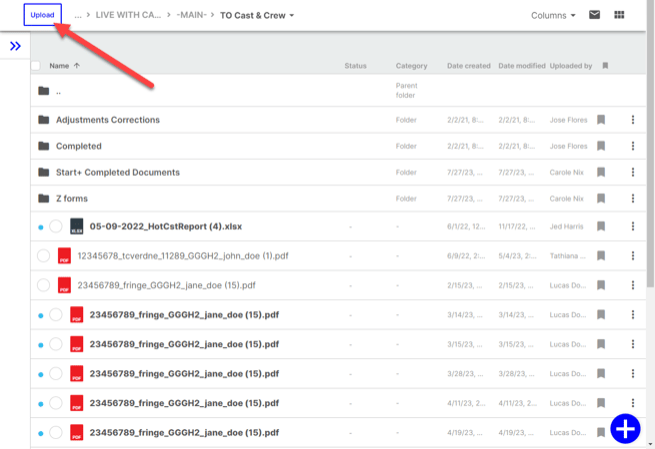
- Then, go to MAIN double-click the TO Cast & Crew or TO Caps folder.

- Click Upload in the top left corner to open the Upload window.
- Since you’re already in the TO Cast & Crew or To Caps folder, it will be bolded, confirming that it is the destination folder for the document.
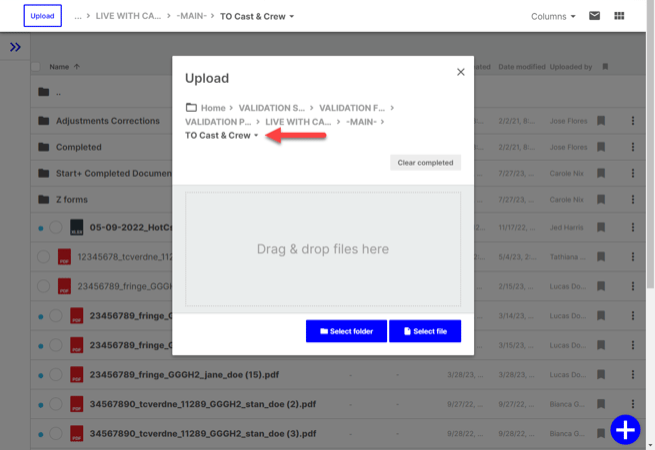
- If you need to change the folder, click on the folders shown and select the correct folder from the drop-down.
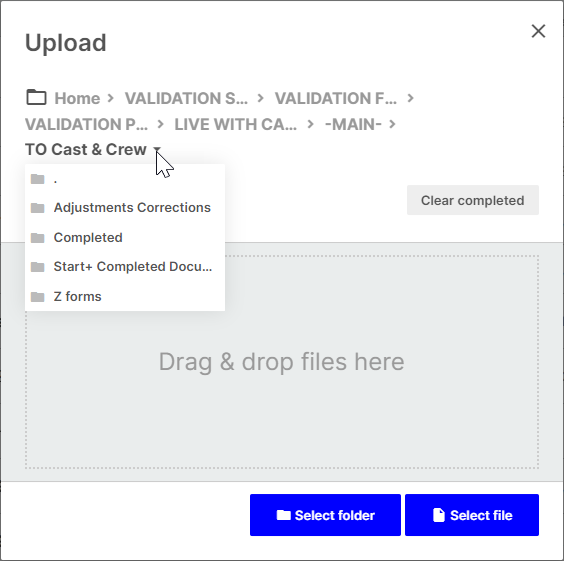
- Upload your files by dragging and dropping them into the window or by clicking Select folder or Select file. Once you select a file or folder, it will automatically start uploading.
💡 Tip: If you’re uploading multiple files at once, you can close the window and work on other things while it continues to download in the background.
- When the file is finished uploading, it will have a green checkmark. If it shows a red X, the file is still uploading.

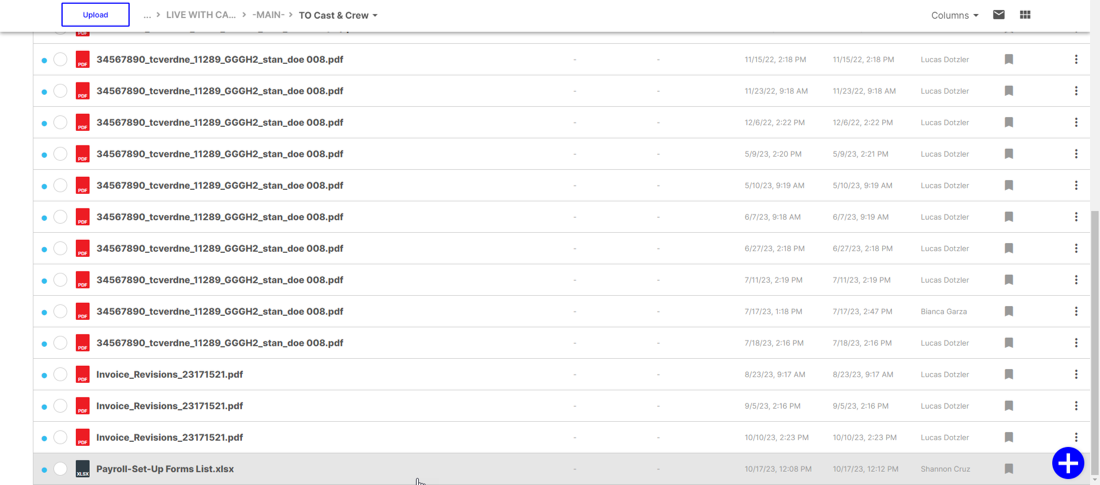
- Close the window when you’re done to view the new file in your folder.
If you receive an error message after trying to upload a file, you can check out this troubleshooting guide here.
Steps for New Experience
- Navigate to the relevant project by selecting the organization producer production company folders as needed.
- Then, go to MAIN double-click the TO Cast & Crew or TO Caps folder.
- Click Upload in the top left corner to open the Upload window.
- Since you’re already in the TO Cast & Crew or To Caps folder, it will be bolded, confirming that it is the destination folder for the document.
- Upload your files by dragging and dropping them into the window or by clicking Select folder or Select file. Once you select a file or folder, it will automatically start uploading.
- When the file(s) are finished uploading, you will see confirmation in the upload window. You have the option to select a category via the drop down menu on the file.
- To upload more files, you can click Select Folder or Select File to continue uploading.
- Close the upload modal window when you’re done to view the new file in your folder.
If you receive an error message after trying to upload a file, you can check out this troubleshooting guide here.