New users who are added to Start+ are required to create an account with MyCast&Crew, the one-stop shop for all Cast & Crew products.
After you've been added to a project, you'll receive an invitation email, which you'll use to create your account.
1. Click Start in the invitation email. This will open a new tab.
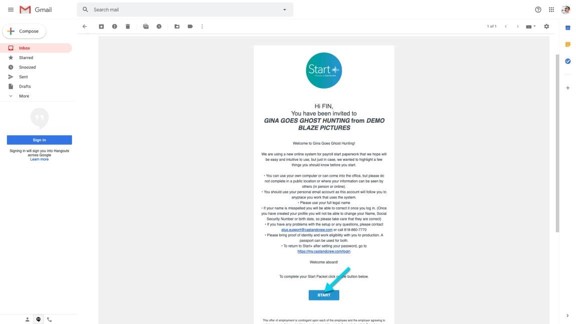
Note: Once you've created a password, the Start link will no longer work to create your account. After you create your password, the link will take you to the MyCast&Crew homepage.
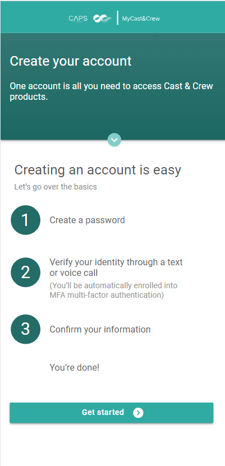
2. On the new page, click Get started to start the account creation process. You can see where you are in the process with the tracker located at the top of the page.
3. Create a password. Make sure your password meets the requirements and enter it in both text fields. Each requirement will show a green check once it is met. If you’d like to see the password you’ve entered, press the eye icon ![]() .
.
Tip: Click the arrow next to "Tips for remembering your password" to find helpful tips for creating an easy-to-remember password.
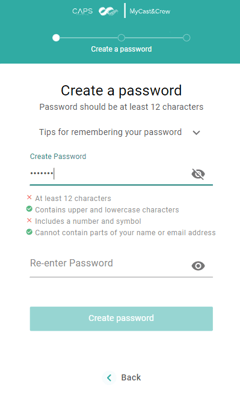
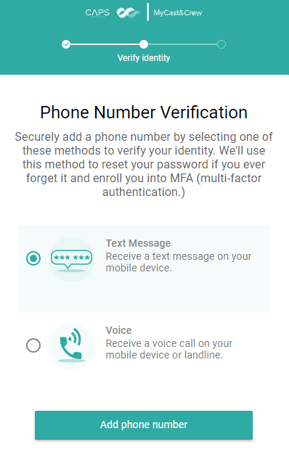
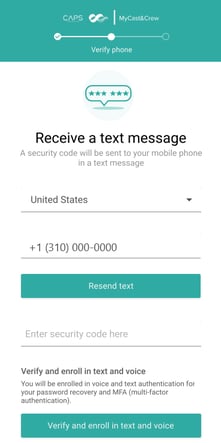
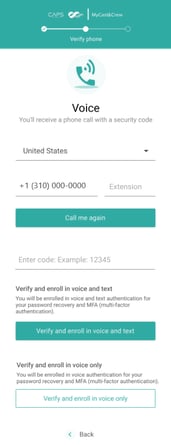
4. Click Create password. Next, you’ll be asked to verify a phone number that will be used to securely recover your password if you forget it in the future. Choose text or voice for your preferred method of verification.
Note: You'll automatically be enrolled in both text and voice verification after you add your phone number for text. Voice option will only enroll you in voice verification.
5. Input your phone number and click Text me or Call me to receive a verification code via text or voice. You can add an extension if needed.
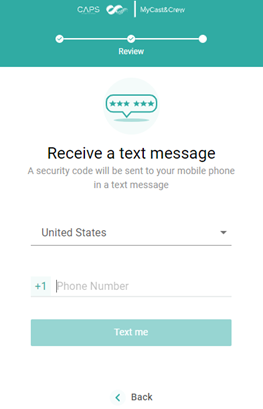
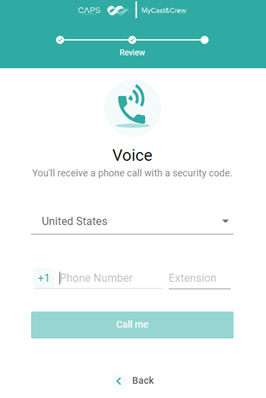
6. Input the verification code and click Verify and enroll in text and voice. If you did not receive a code after 30 seconds, click Text me again. If you chose the voice option, you can choose to Verify and enroll in voice only.
7. Review the confirmation page, which will show you which email is tied to your account. We recommend making a note of this, so you don’t forget.
8. Click Go to MyC&C dashboard or (Log in to My Cast & Crew dashboard if you're on desktop) to navigate to the login page, where you’ll be asked to log in using your email and password you just created for your account.
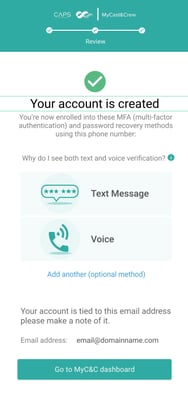
Optional: You can also choose to setup OKTA as an additional recovery method by clicking Add another (optional method). Learn how to set this up here.
9. Since this is the first time you are using Start+, you'll need to finishing setting up your account. Click Get started.
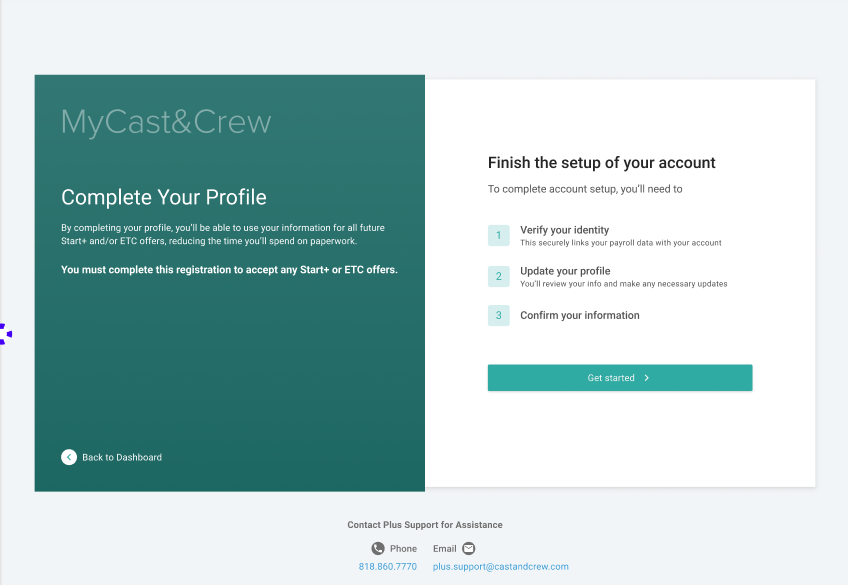
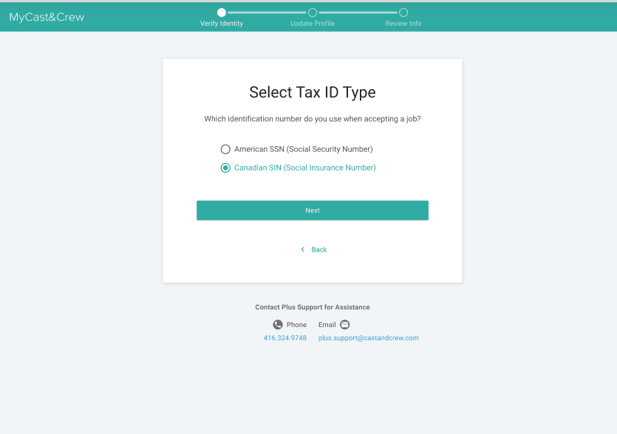
10. Select the tax ID number you use for tax and payroll purposes. In this case, you'll choose I use a Canadian SIN (Social Insurance Number). Click Next.
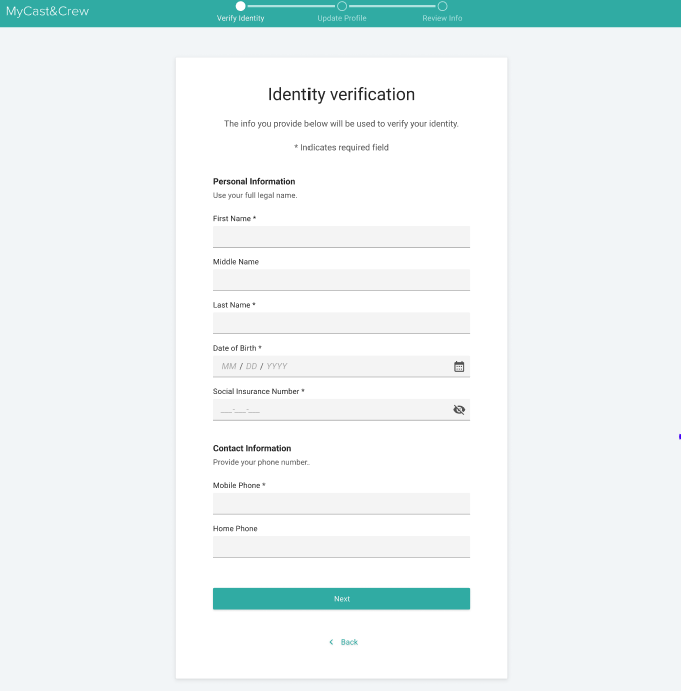
11. Input your personal details. This will help the system verify your identity. Click Next.
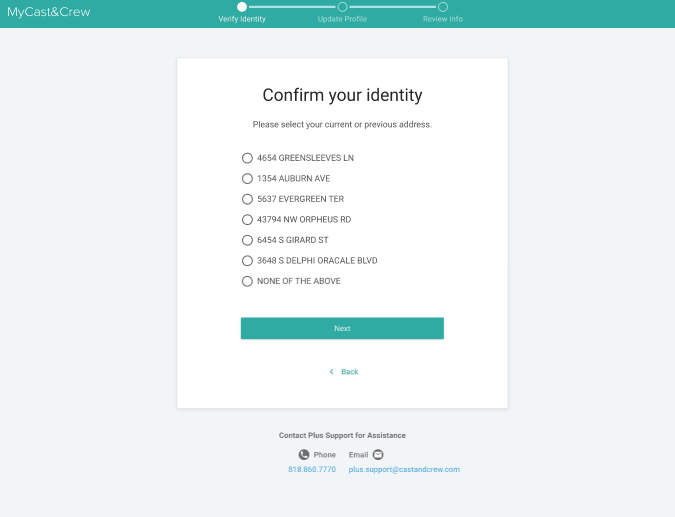
12. Select a current or previous address. This will help the system confirm your identity. Click Next.
13. You'll receive a "Verification complete" message. Click Next to finish setting up your profile.
14. Select a gender and ethnicity or choose not to disclose. This is a required step and cannot be left blank.
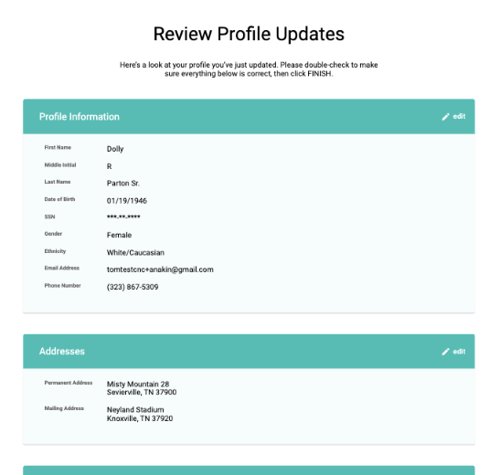
15. Review your profile and click edit if you need to make any necessary updates. Otherwise, click Finish Profile Update.
16. Click Take me to my offer to navigate to your offer.
17. If you are satisfied with the deal memo, click Begin Start Packet Forms.
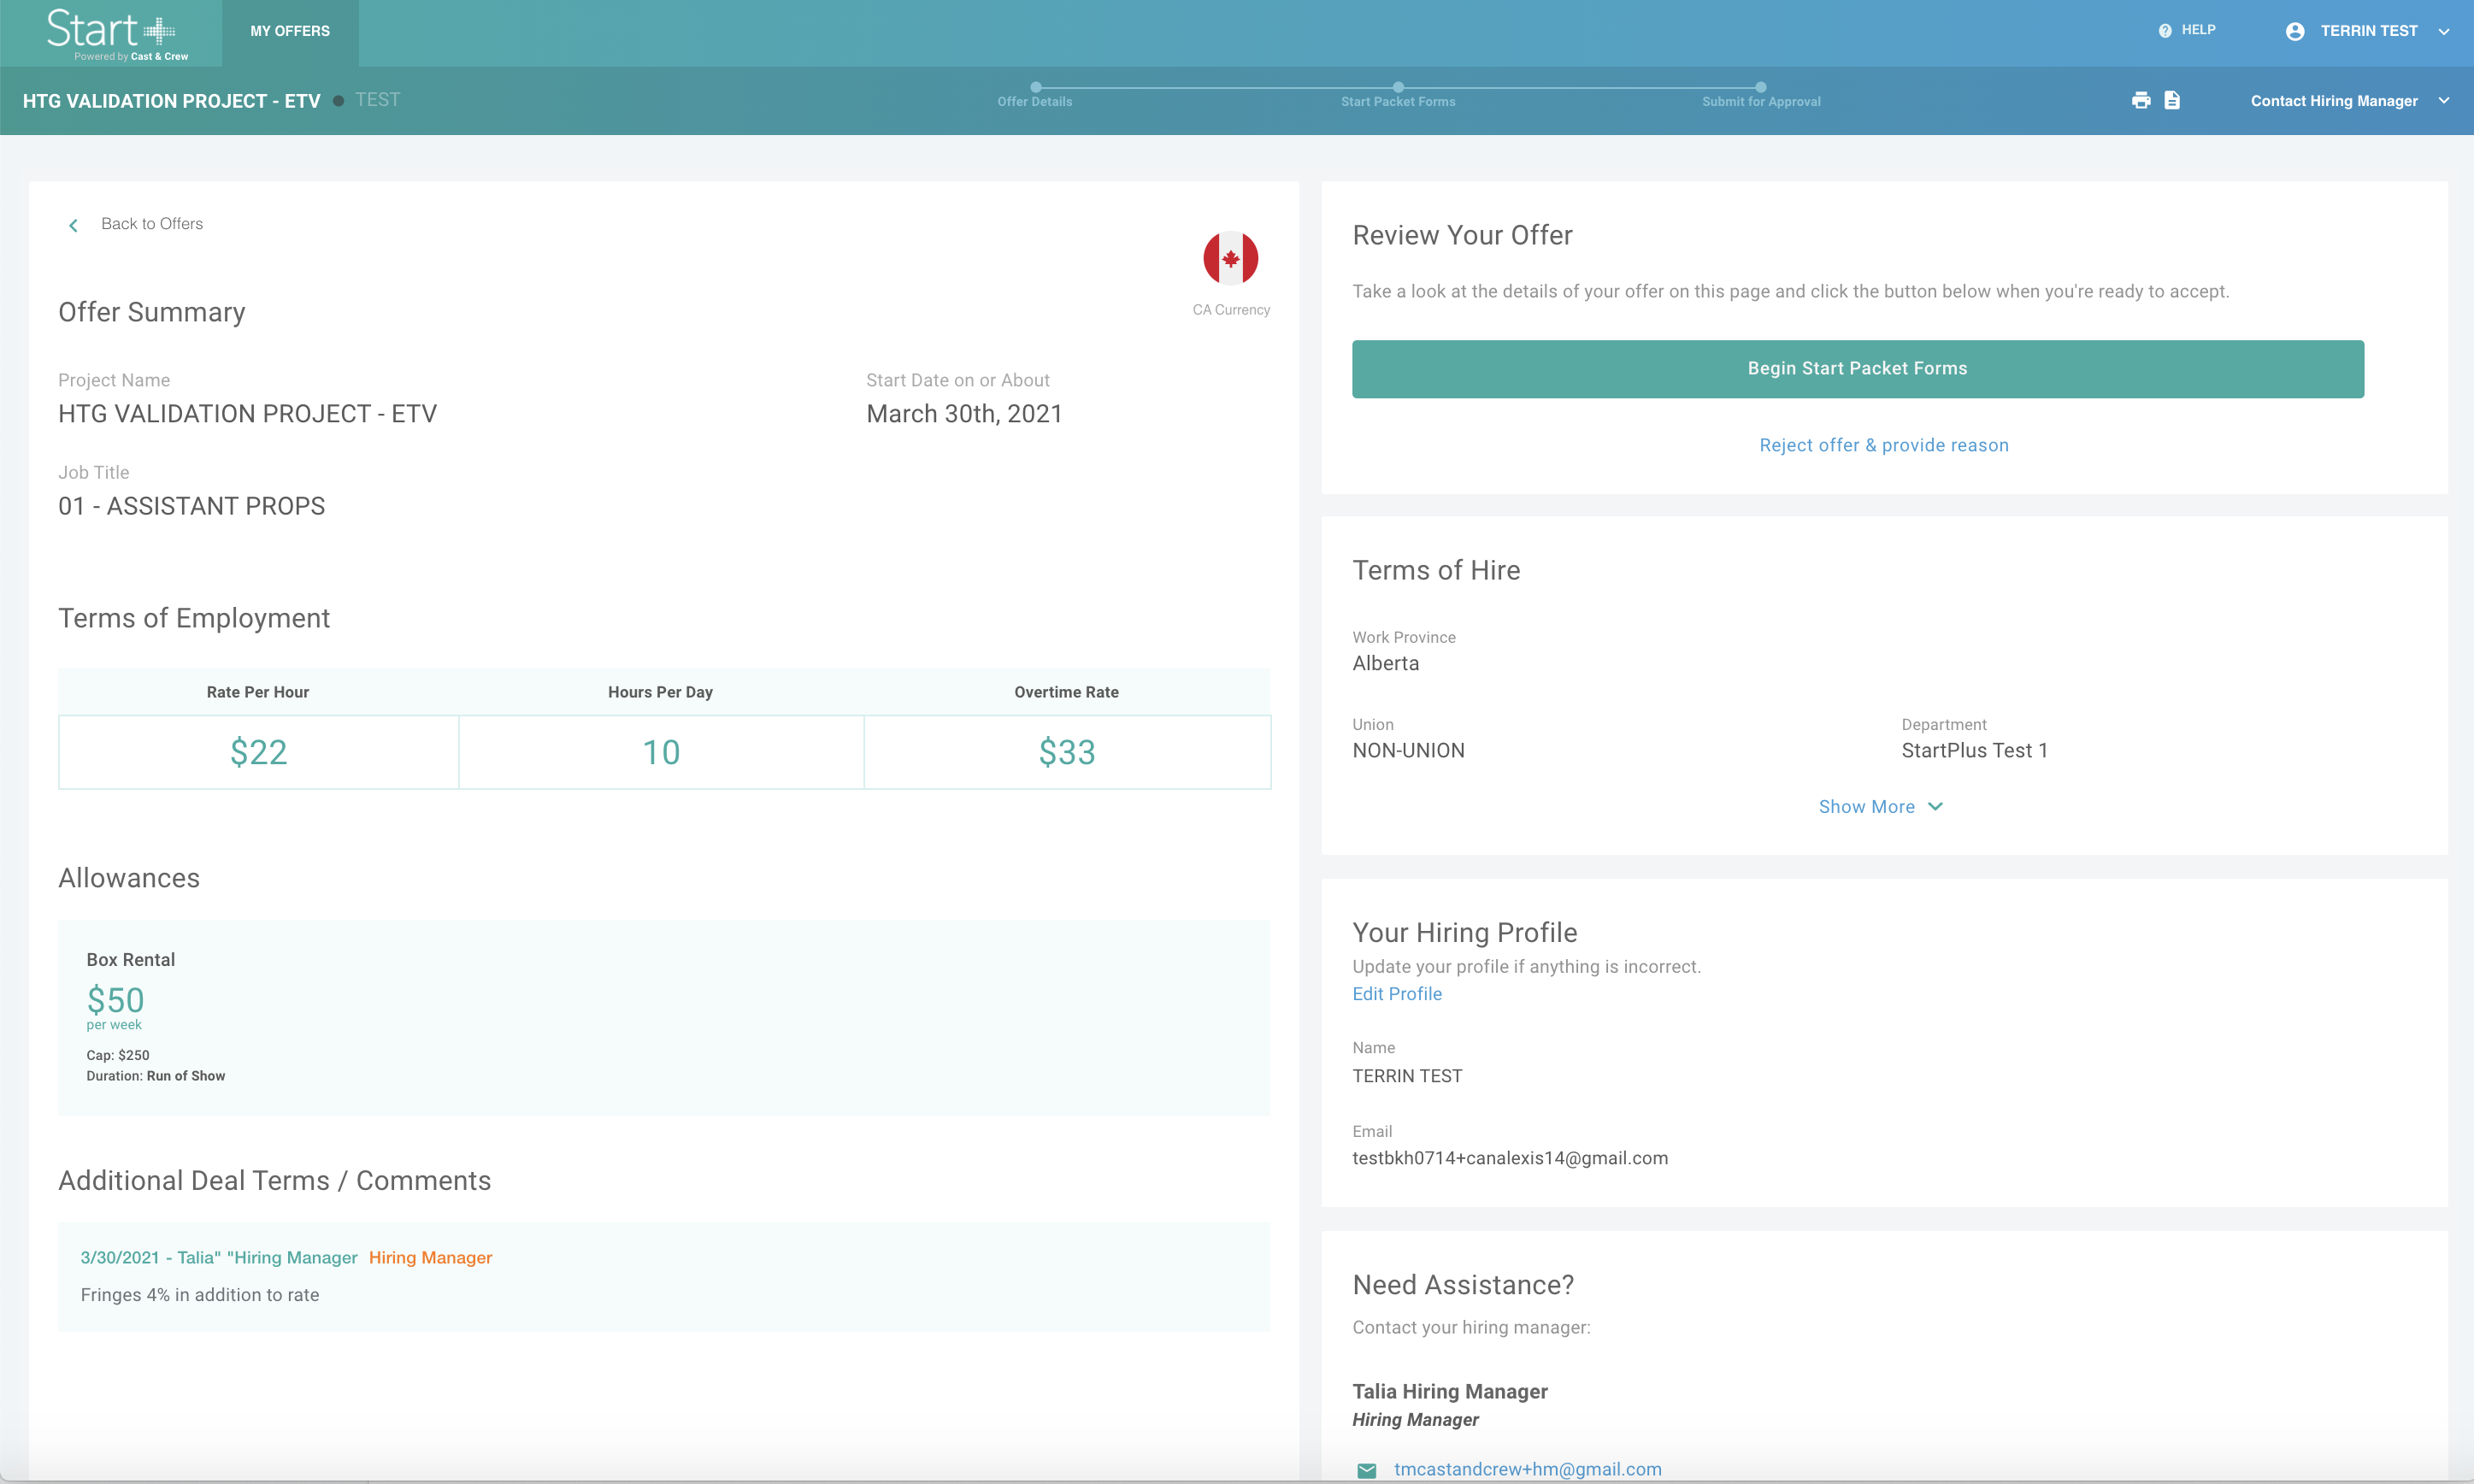
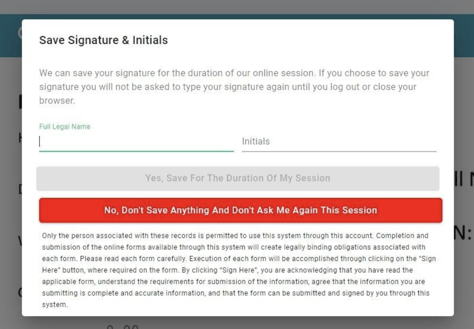
18. Start+ will prompt you to sign and complete any required start packet forms, which you'll be able to do with the convenient Document Signer.
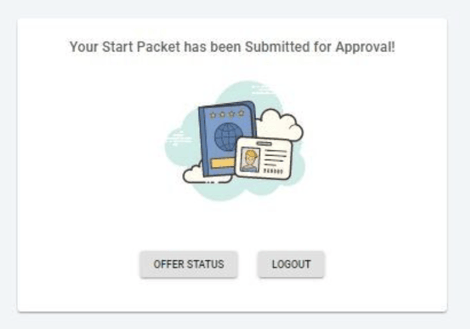
19. After you're done signing all forms, you'll see a confirmation message. Click Logout to end your session.
Reject your offer
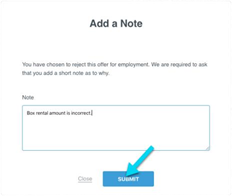
Start+ displays the deal memo for your review. If you disagree with the terms, you can refuse the offer by clicking Reject.
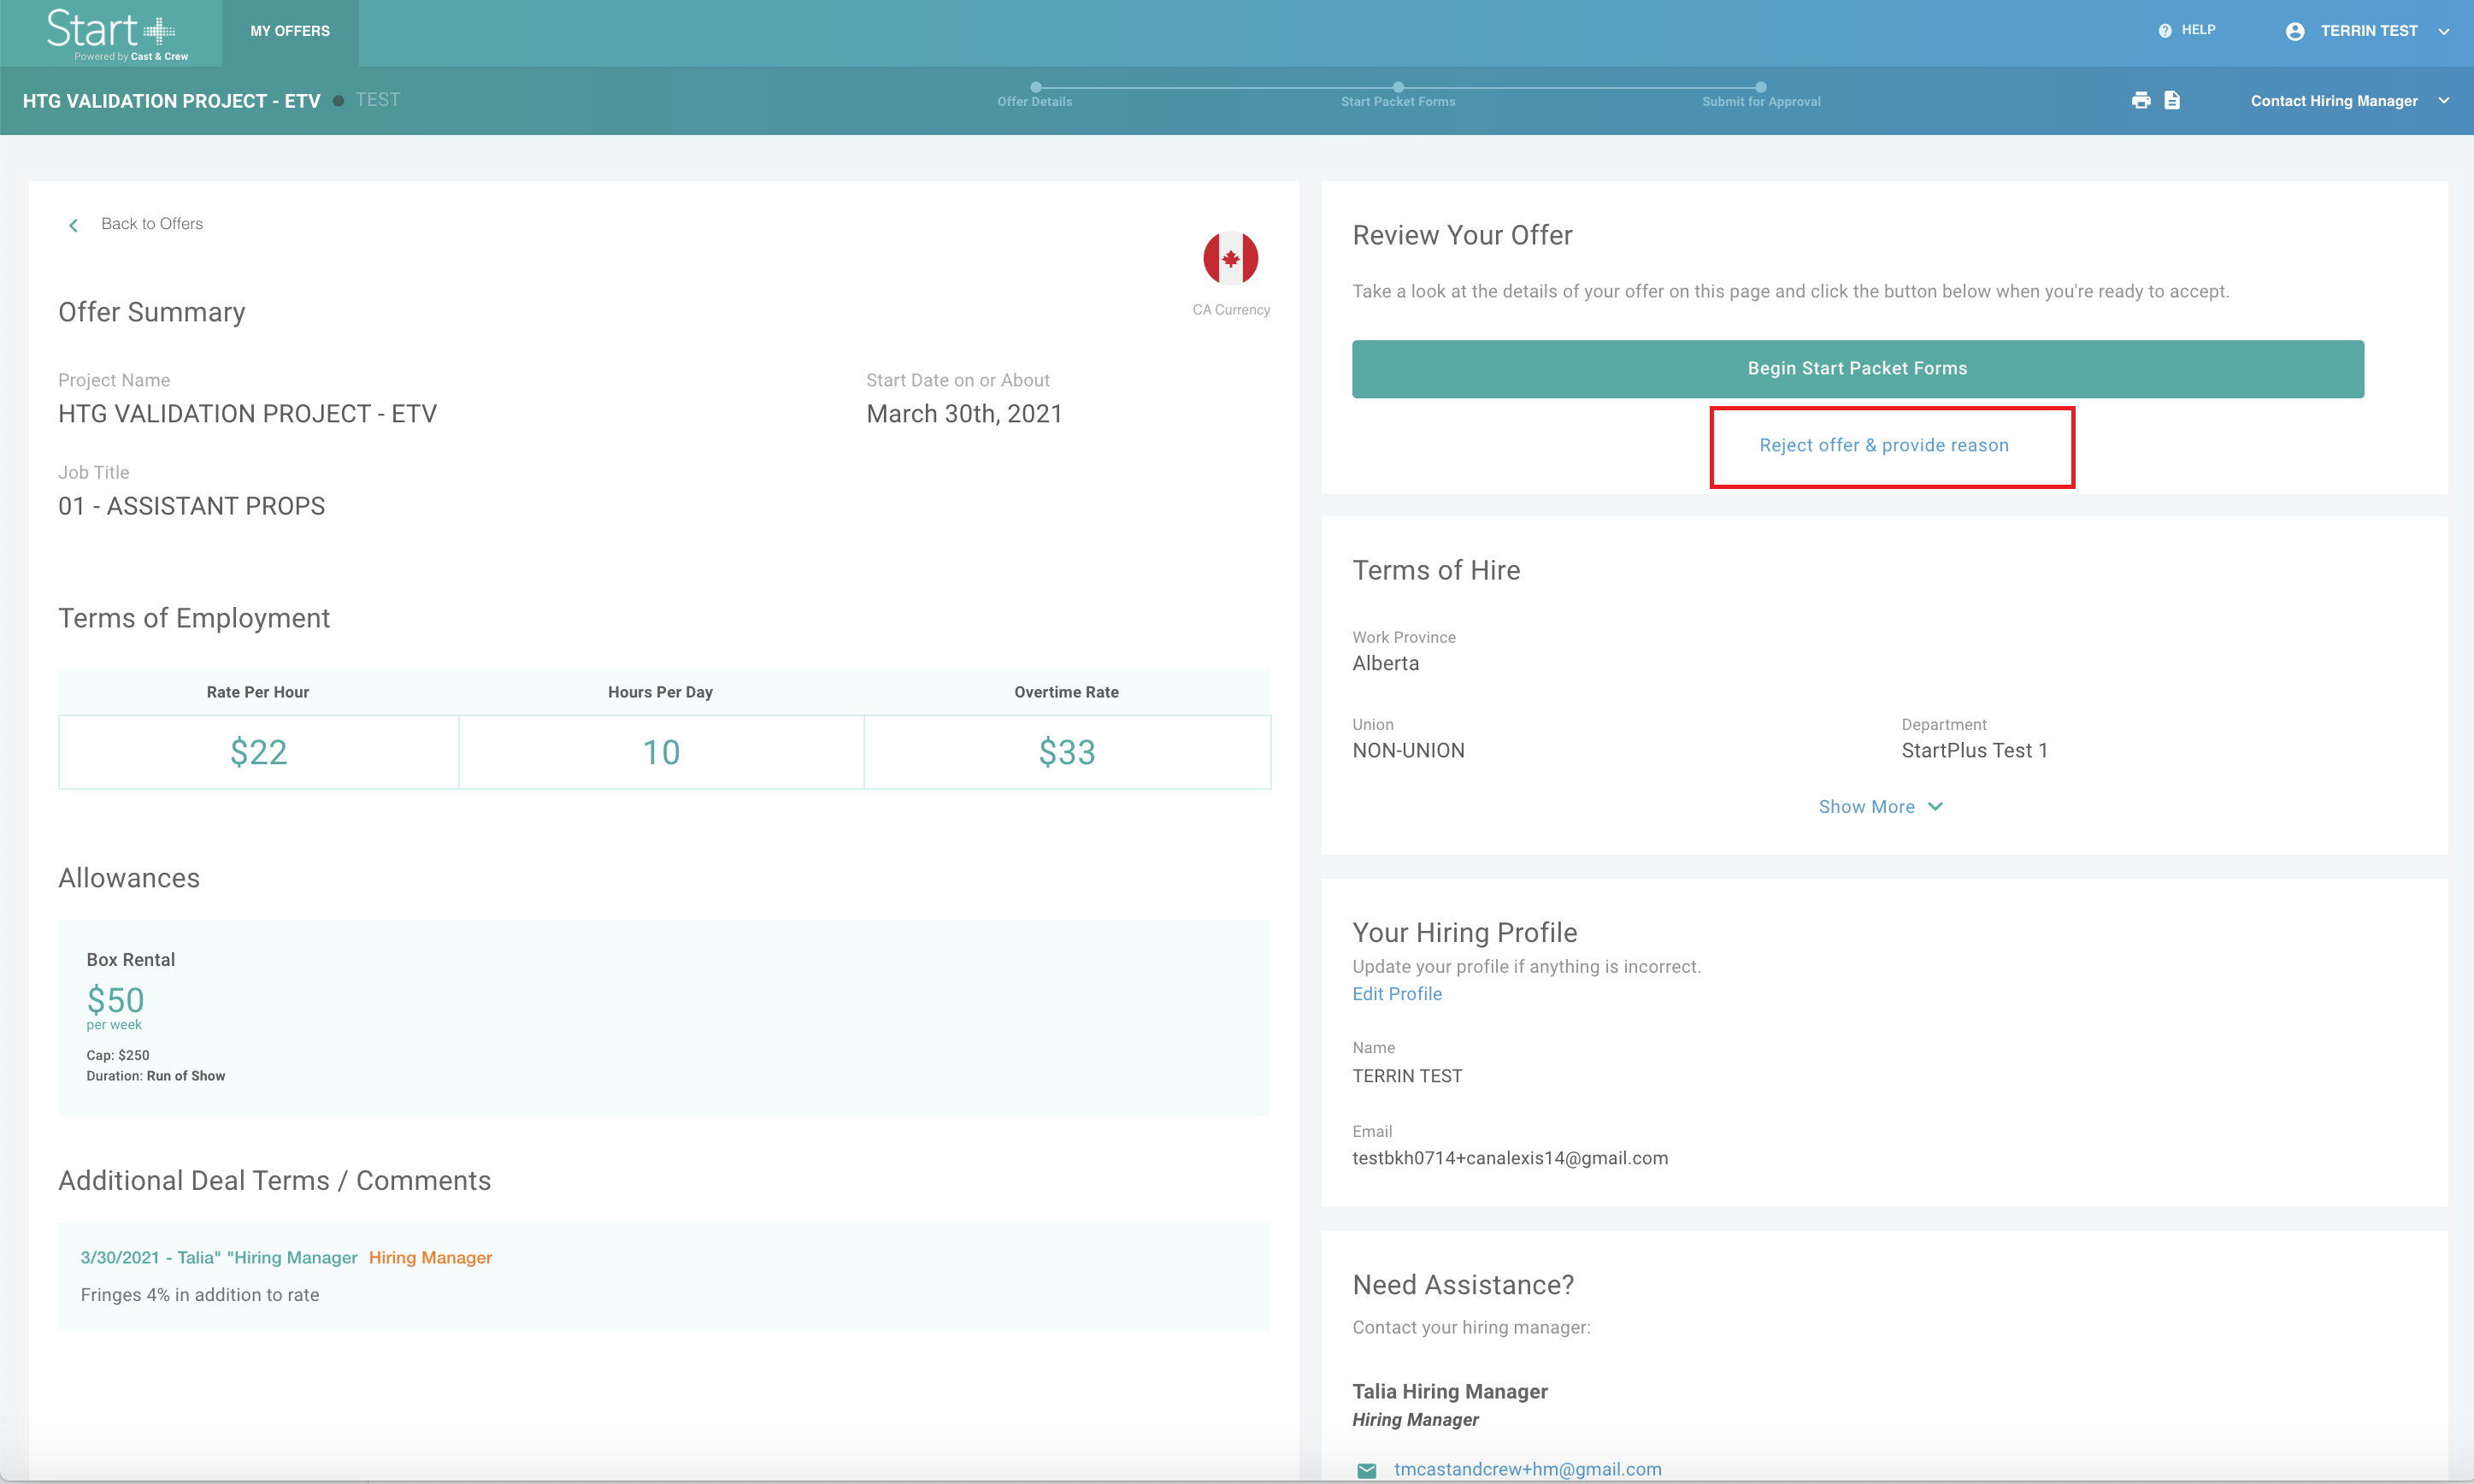
Note: You must always provide a reason. When you are ready, click Submit to reject the offer.
