Discover how, as an I-9 Verifier, you can efficiently request crew members to correct Section 1 of their I-9 forms while ensuring other offer documents continue moving in the approval workflows.
Jump to a section in this guide
How to Request Corrections to the I-9
After the Employee Submits the Corrections
I-9 Verifiers can request corrections to the I-9 form by rejecting it, enabling employees to make necessary revisions to Section 1 while ensuring other offer documents continue through approval workflows.
Why would this be useful?
Employees manually complete their Form I-9 because the fields cannot be pre-populated, according to the I-9 instructions. This increases the potential for errors. Employees must also use legal names as they appear on their verification documents, and often mistakenly, enter nicknames. This feature gives productions the ability to request corrections to the I-9 while also allowing the other offer documents to progress in the approval workflows, thus making the onboarding process more efficient.
How to Request Corrections to the I-9
-
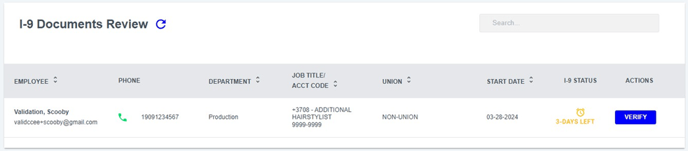
As an I-9 Verifier logged into Start+ and on the I-9 Reviews tab, you'll see all the I-9 forms awaiting review on your dashboard, each with a 'Verify' button.
-
Click 'Verify' to view the form and compare the information against the information on the crew member's verification document(s).
-
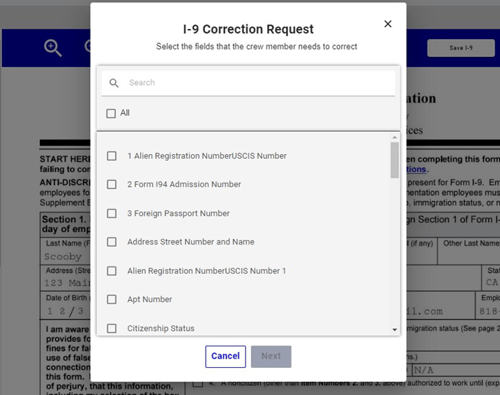
If anything needs to be corrected by the employee, click 'Reject I-9' located in the top-right of the screen.

- Select the fields that need to be corrected by the employee.
- In this example, the employee entered their first and last names in the wrong fields. Therefore, the I-9 Verifier would select the two fields that should be rejected:
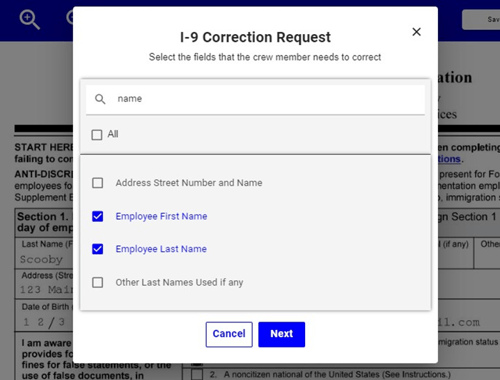
- In this example, the employee entered their first and last names in the wrong fields. Therefore, the I-9 Verifier would select the two fields that should be rejected:
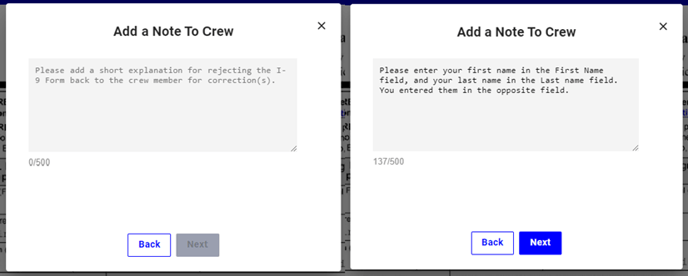
- After clicking 'Next,' you'll be asked to enter a note that will be visible to the employee. This step is required to move to the next step.
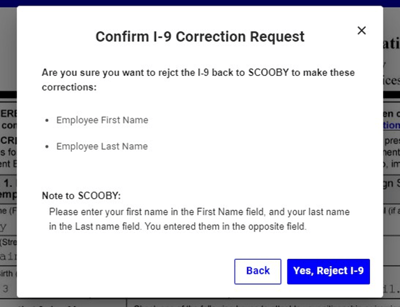
- After clicking 'Next', review the requested changes and notes. Confirm the action by clicking 'Yes, Reject I-9.'
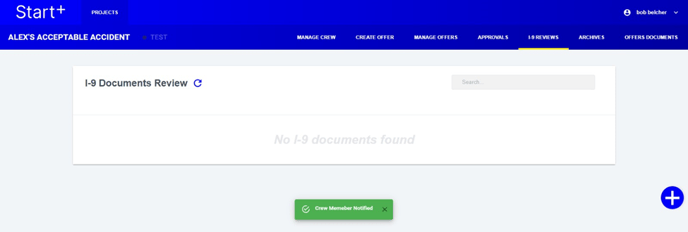
- You'll be redirected to the I-9 Reviews dashboard where you'll receive a confirmation that the action is complete and the employee has been notified. The I-9 will no longer be listed on the dashboard.
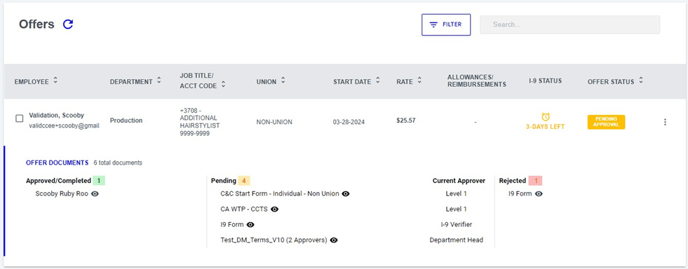
- Under the "Manage Offers" tab, the offer will have a badge, and both the offer status and I-9 status will reflect "Pending Employee." The rejected I-9 will be listed in the "Rejected" column, and the new I-9 will be listed in the "Pending" column and will display the current approver as "Employee."

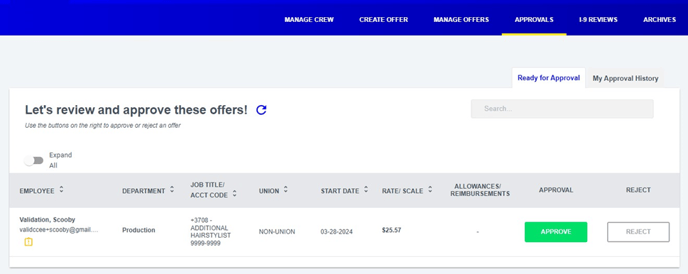
- On the Approvals tab, the approver will still be able to approve the documents even though the I-9 is pending the employee’s action.
The Employee's Workflow
-
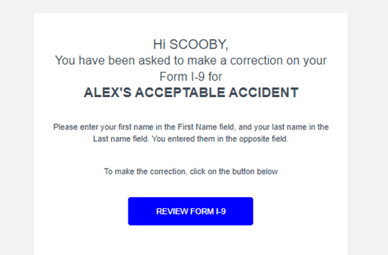
The employee will receive an email informing them that they need to take action. They'll see the I-9 Verifier's note and can click the button 'Review Form I-9' directly in the email.

-
When they click the button, (they may be asked to sign in) they will be directed to the form and see the note at the top of the page.
Mobile view: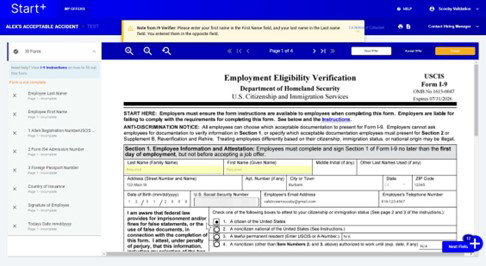
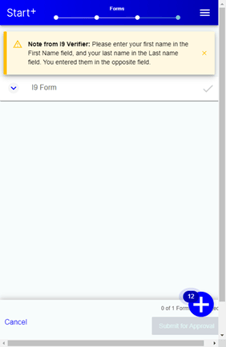
💡Tip: If the employee dismisses the note, they can refresh the page to make it reappear. -
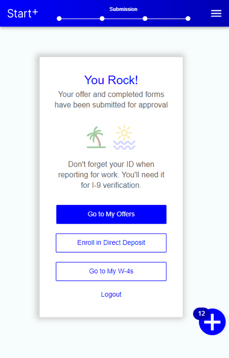
The employee will only need to correct the fields that you identified, re-sign, and update the date on the form. They won't have to redo the entire form. Once the fields are completed, they can submit the form to fulfill the I-9 correction request.
After the Employee Submits the Corrections
The Manage Offers page will be updated to reflect the status of the offer and forms.
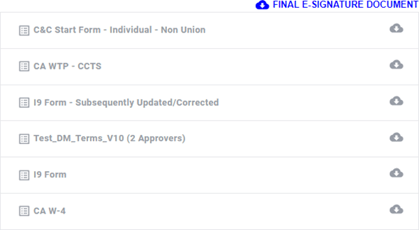
You can verify the corrected/updated version of the I-9 in the same way as the other I-9 forms. When the offer is fully approved, all versions of the I-9 will be listed in the offer packet ensuring an audit trail of the corrections.