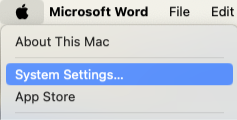
- Completely quit out of PSL+. Then, go to your Mac’s system Preferences, by clicking on the Apple logo in the Upper-Left corner of your Mac’s Desktop and selecting “System Settings”.
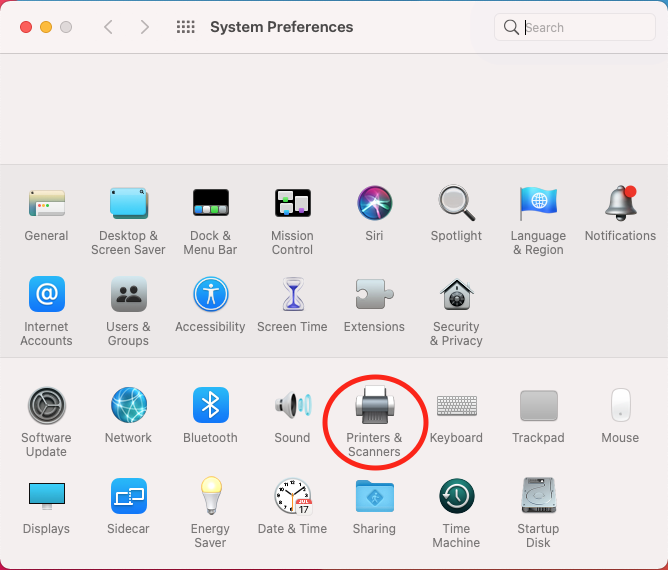
- Once you're in your System Preference Menu, click the “Printers & Scanners” icon.
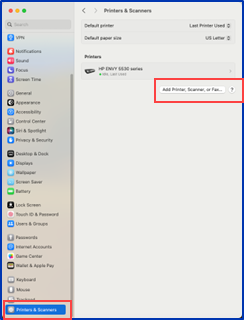
- Click the “Add Printer, Scanner, or Fax…” button in the upper portion on the right side of the Printers & Scanners window.
- In the Add Printer window, click on the "IP" icon (It looks like a globe). For "Protocol" select "Internet Printing Protocol – IPP”
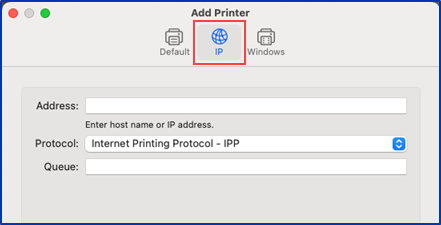
- Enter the following information for the new IP Printer:
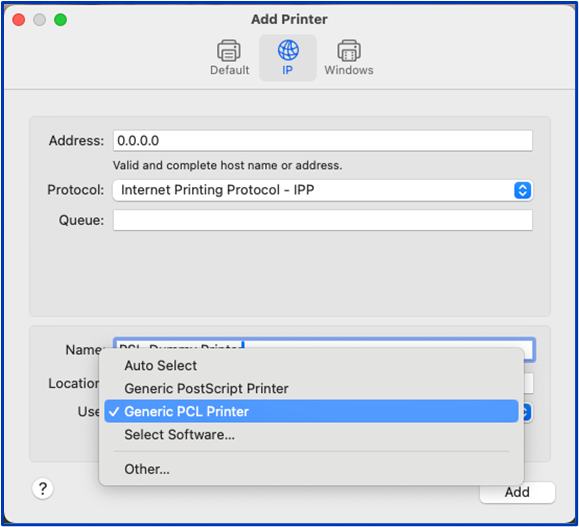
- Address: 0.0.0.0
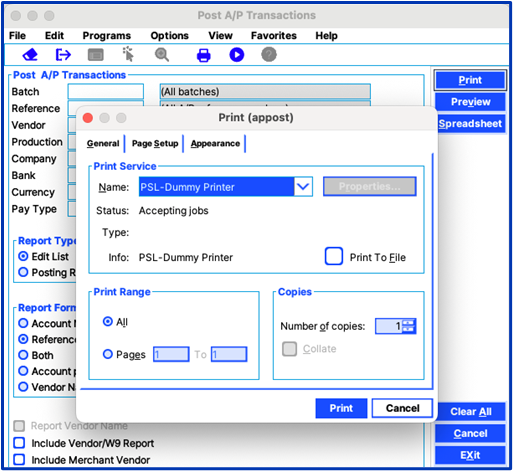
- Name: PSL-Dummy Printer
- Use: Select "Generic PCL Printer" from the drop-down menu
-
Once the information matches the screenshot below, click the ‘Add’ button at the bottom.
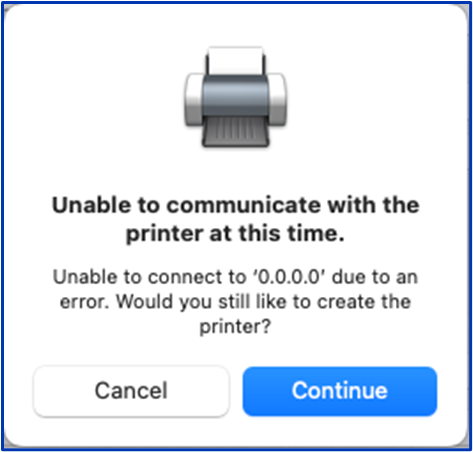
- You will receive a prompt saying that MacOS cannot verify your printer. Click the ‘Continue’ button.
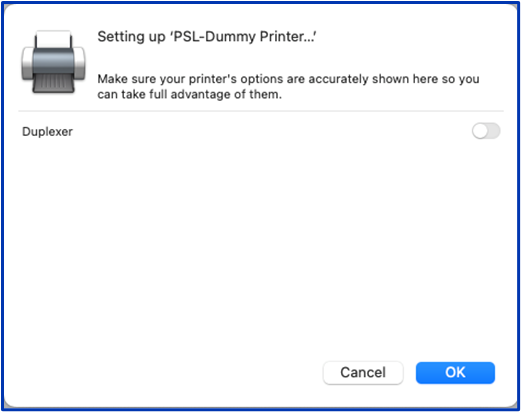
- You will then be presented with options for the dummy printer. Simply click ‘OK’ at the bottom of the window.
- Re-open PSL+ and your new printer will be available, and you can select the “Print to File” option.