Discover how to set up the CASHét Cardholder to export envelopes to the PSL+ vendor.
Jump to a section in this guide:
Watch: PSL+ CASHet PCard Integration Demo
Vendor (CASHet Cardholder) Setup
> Exporting PCEs from CASHet to PSL+
Watch: PSL+ CASHet PCard Integration Demo
Note: The PSL+ Vendor Setup will require the last six digits of a CASHét Card when creating a Purchase Card account. We STONGLY RECOMMEND that you make a copy of both the front and the back of each CASHét Card before distributing them so this information is readily available. Keep these copies in a secured location.
CASHet Cardholder - Vendor Setup
Prior to exporting PCard envelopes into PSL+, a CASHet cardholder must be set up as a vendor. To do this:
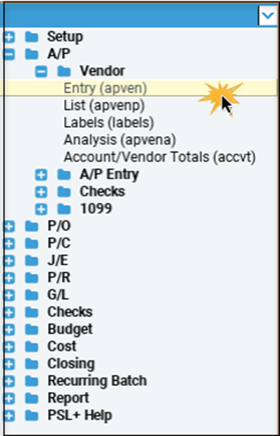
- From the PSL+ menu on the left-hand side, click A/P to expand the folder. Click Vendor, then select Entry.
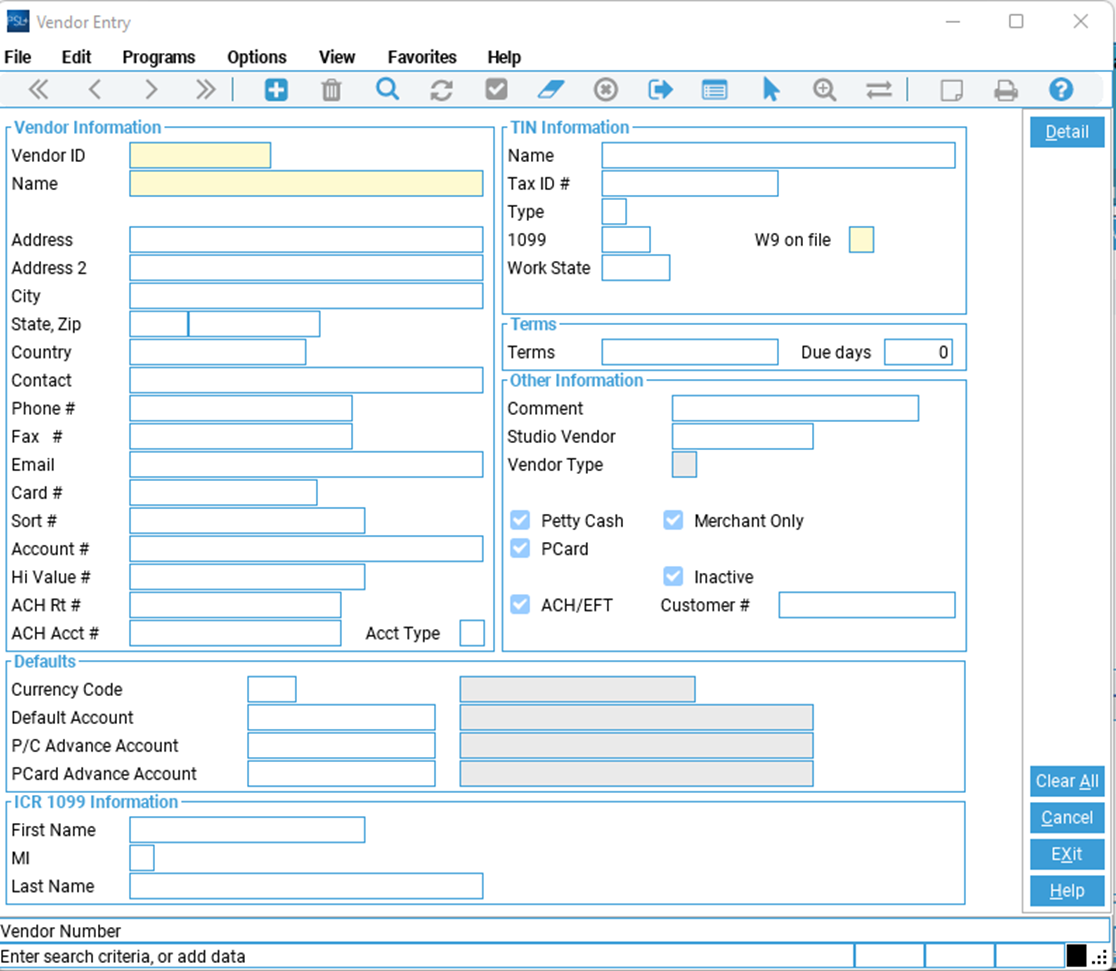
- Complete the required fields in the Vendor Entry screen.
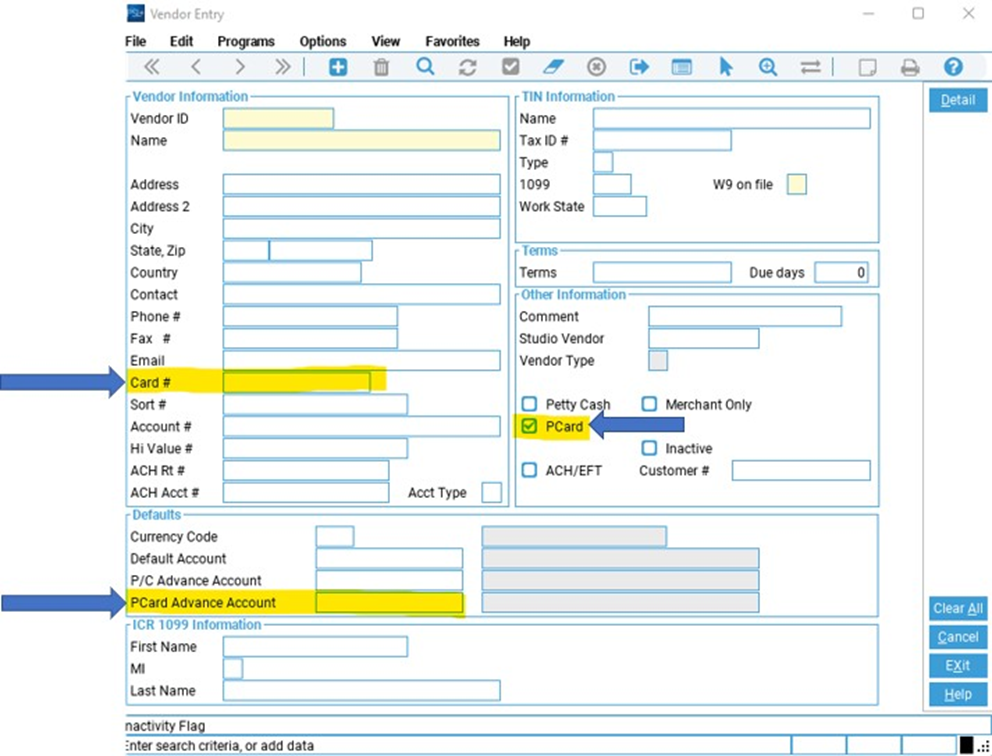
- In the 'Vendor Information' section, input the last 6 digits of the CASHet MasterCard in the Card # field.
- In the 'Other Information' section, select the PCard option.
- In the 'Defaults' section, input the PCard Advance Amount for this Vendor/Cardholder.
Exporting Envelopes to PSL+
Exporting PCEs from CASHet to PSL+
- Log in to CASHet.
- Hover over the left side of the screen to reveal the navigation tabs. Click the PCE Log tab.
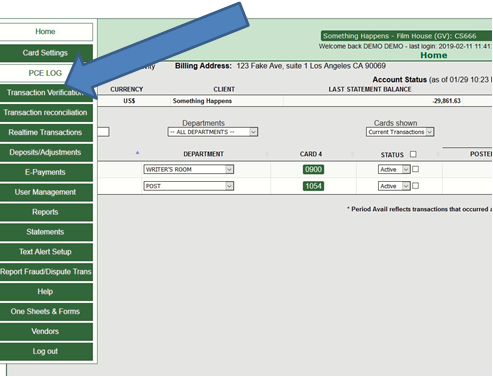
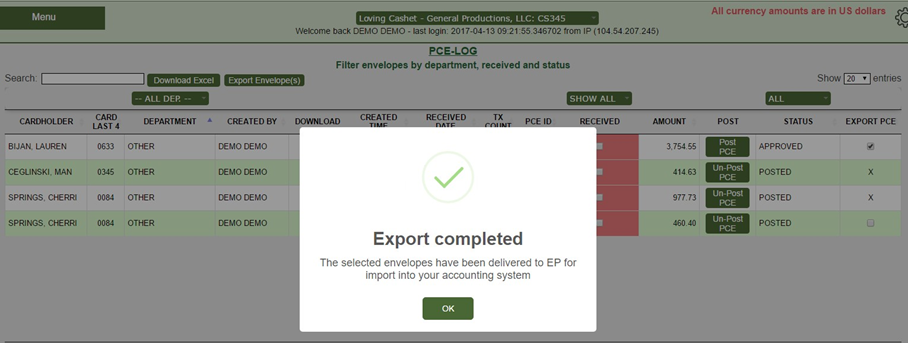
- In Status Filter select Approved to display envelopes not yet exported.
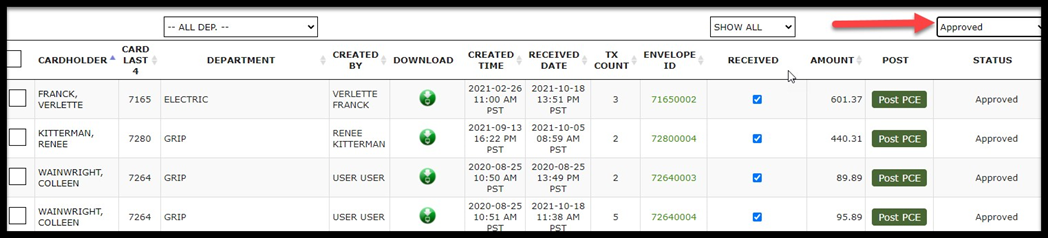
- Under the column 'EXPORT PCE' select the box for the envelope(s) to be exported.
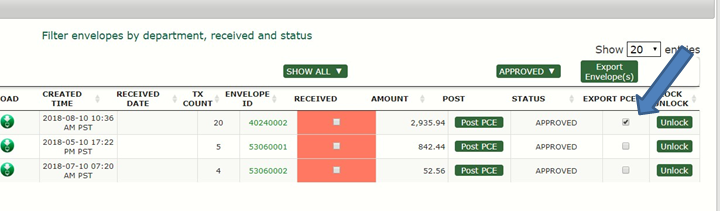
- Once the envelopes have been selected, click Export Envelope(s).

- You'll see a pop-up box asking Are you sure? Click Yes, continue!
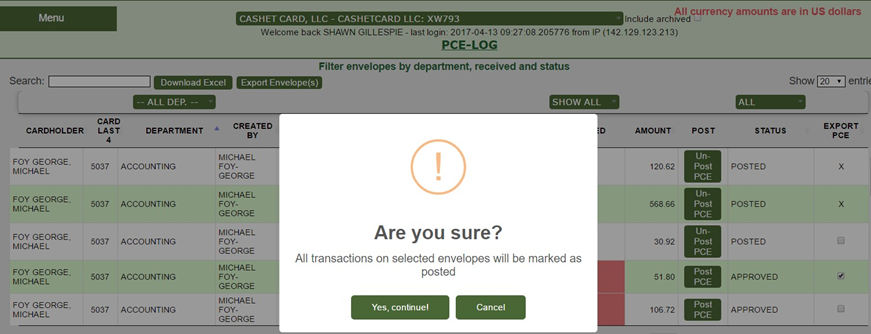
- You'll see a pop-up box for Export completed. Click OK.
Posting PCEs to PSL+
- Log in to PSL+.
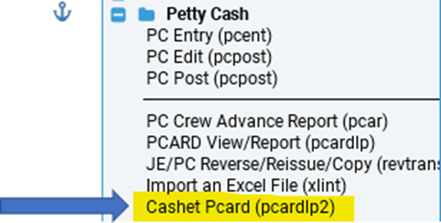
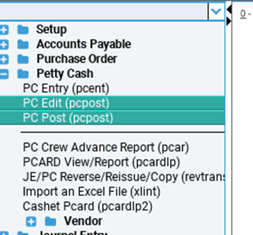
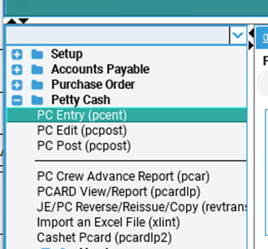
- From the PSL+ menu on the left side, click Petty Cash to open the folder, then Cashet Pcard.
Note: if you do not see it, you may need to request this program from PSL+ Support as it may not be included with your user role and permissions.
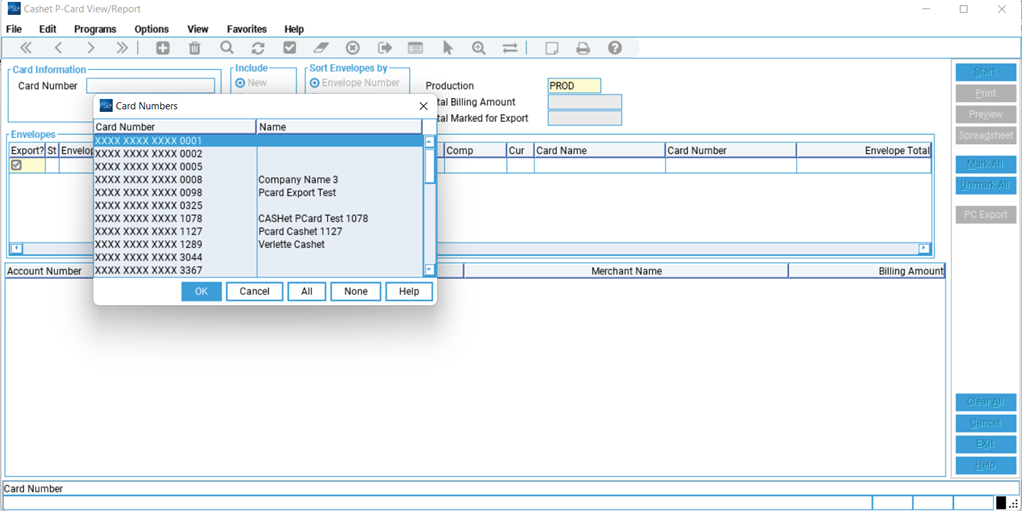
- In the Cashet P-Card View/Report screen, click Start to view all envelopes exported from CASHet.
To filter for one or more cards, right-click on the Card Number field. Choose the Card Number, then click Start.
- Select the envelope(s) to be exported to the PCard module by selecting the box on the same line of each envelope. When selecting an envelope, you will see the detail lines in the window found at the bottom of the page. Provide a description for the envelope if it's missing. Assign the envelope a batch number, bank code, company code, and currency.
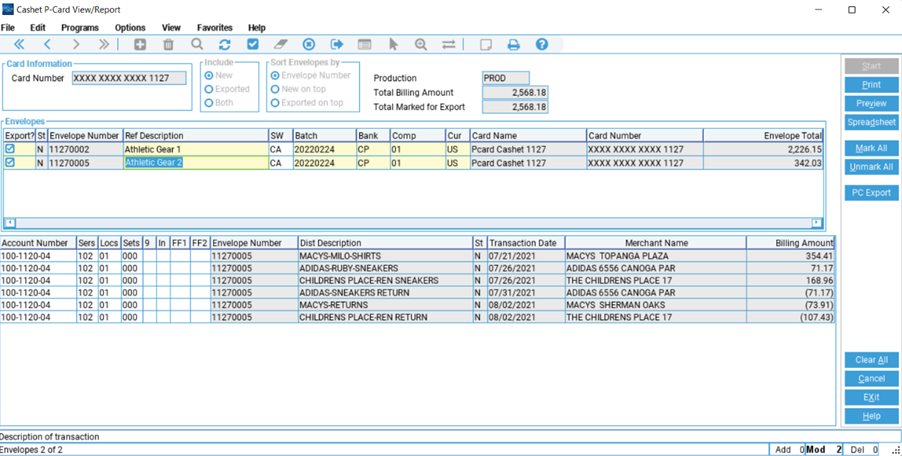
- If you wish to set default series, location, or set codes for your selected envelopes, these codes will populate for any detail line that you have not coded. For those envelopes that share the same [set, series, or location code] across the envelope, you can process them much more quickly using defaults.
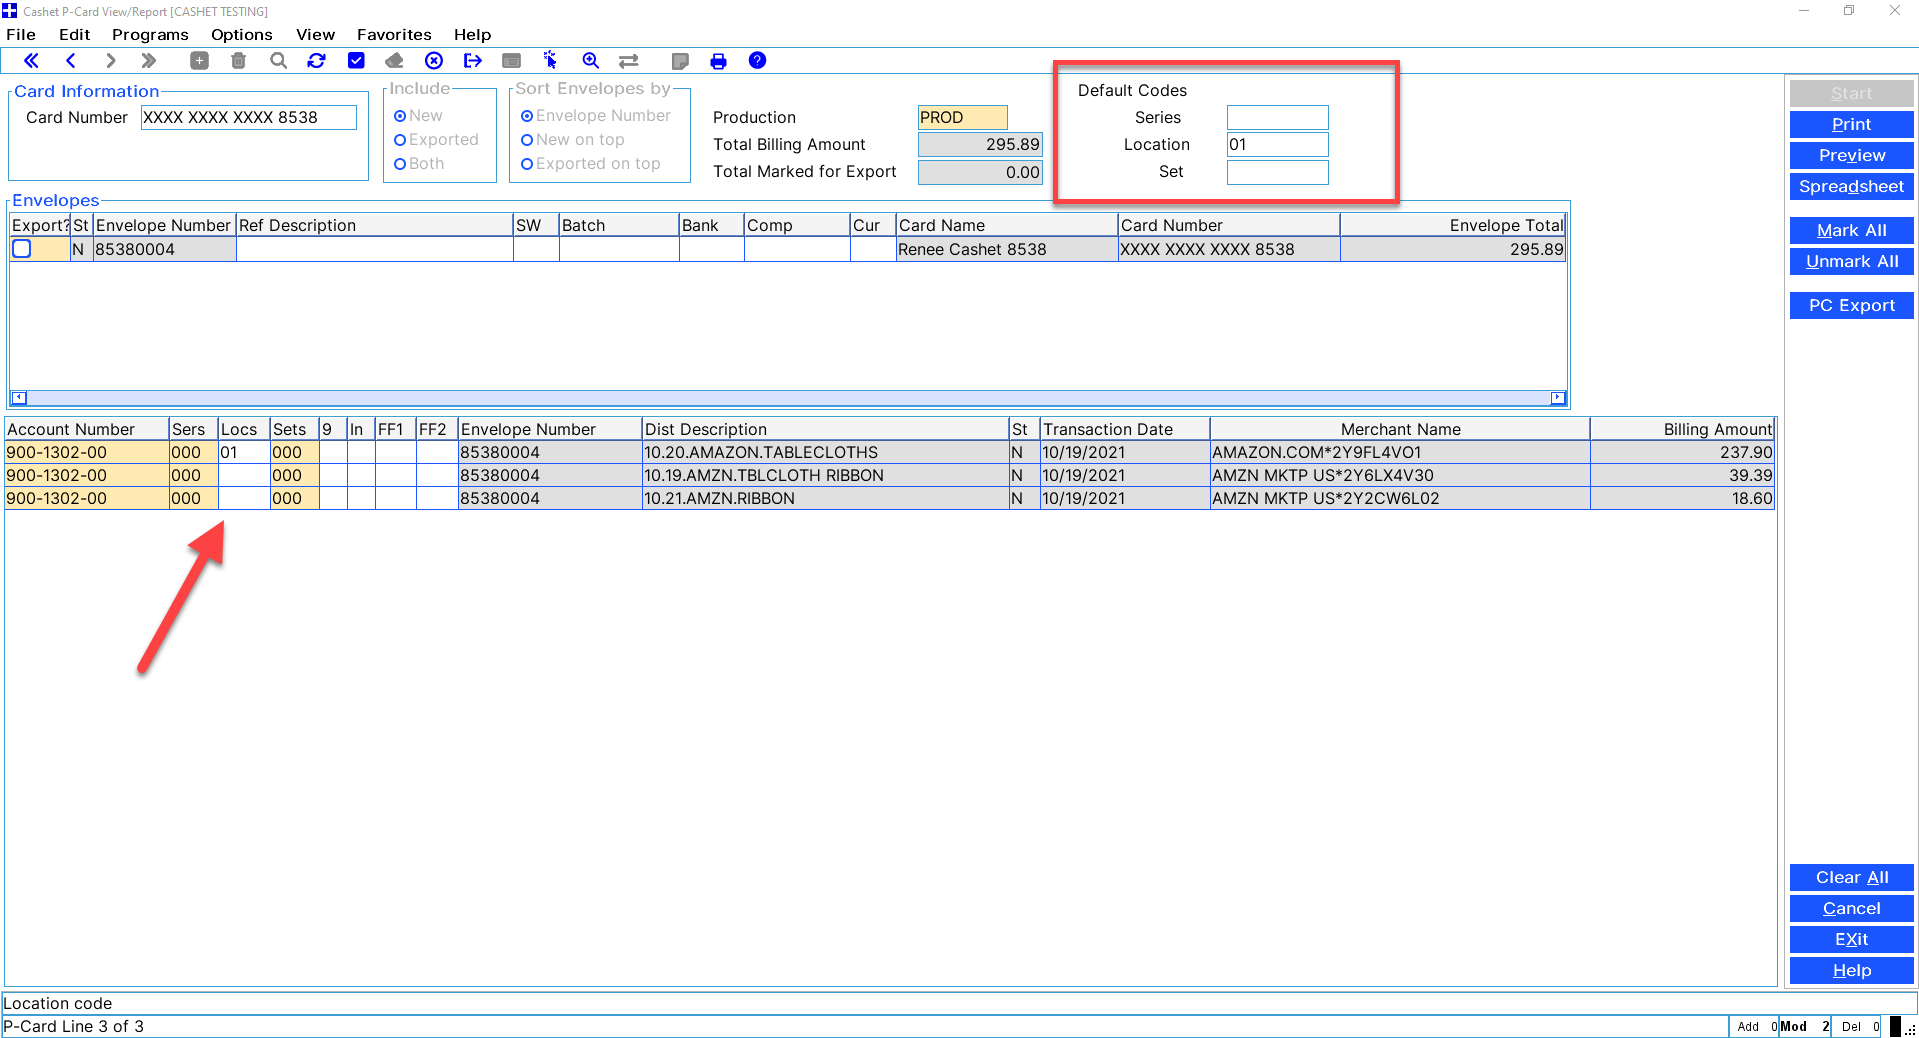
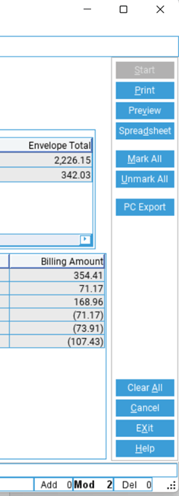
- After selecting the envelopes to be processed, click PC Export.
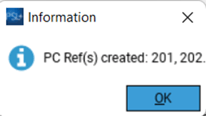
- The Reference number(s) window will appear. Click Ok. Make a note of the reference numbers.
Accounting Best Practices suggest an audit of the entries thus far.
- From PSL+ main menu bar, click Petty Cash then PC Edit or PC Post.
-
After reviewing your audit, if changes are required, select Petty Cash then PC Entry.
- If this is your first time using petty cash entry you may see this screen, otherwise, skip to step 10.
The SLS dialogue screen will pop up.
Fill in the following fields to proceed:
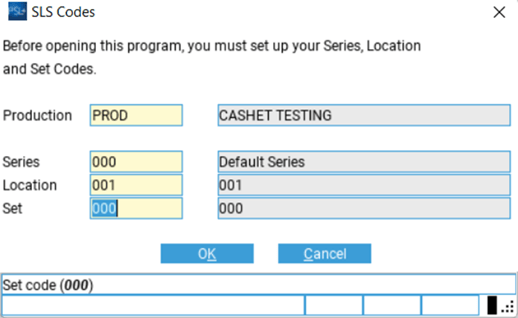
-
Click Ok after the required information is input.
-
- Enter the reference number that was created when you clicked “PC Export”. After the envelope has loaded make any necessary changes. Click the Update or Accept icons. Repeat Step 7 to verify.
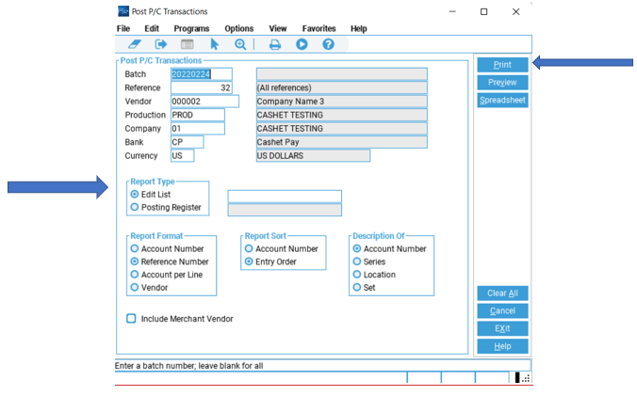
- From PSL+ main menu bar select Petty Cash then PC Edit.

-
Select your batch and choose Posting Register. Click Print or Preview to review.
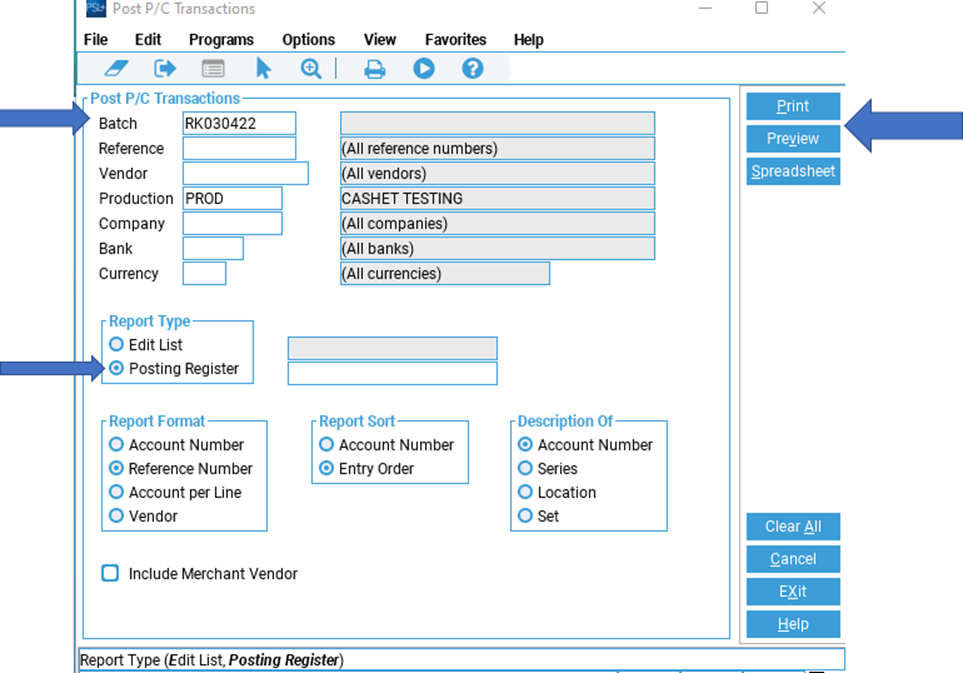
- A pop-up will appear asking "Has Register Printed Correctly?" Click Yes to post or No to cancel posting.
- If you clicked Yes, the below window will display: