Follow this guide to learn how to load, post, and print your C&C payroll files in PSL+.
Jump to a section in this guide:
P/R Menu: 1. Open - Load C&C Invoice
Edit List vs. Loading Register
3. Open - P/R Payroll Edit List/Payroll Post
P/R Menu: 1. Open - Load C&C Invoice
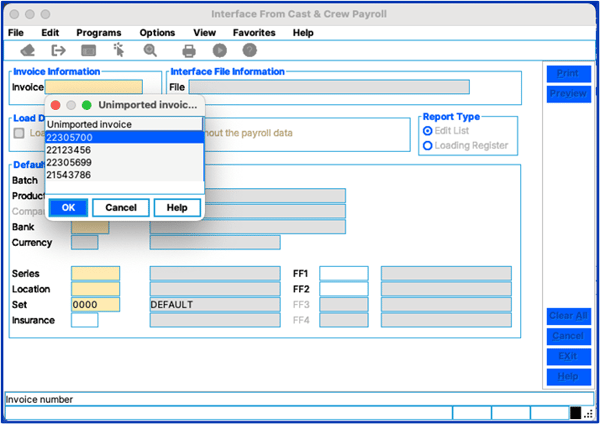
To access the Load/Interface C&C Payroll Invoice screen, click the 'Payroll' module from the menu tree,

Getting Started: Right-click on the blank Invoice field.
Choose one unimported invoice number at a time.
Update all the following mandatory fields with the necessary data:
- Batch
- Production
- Company
- Bank
- Currency
- Series
- Location
- Set
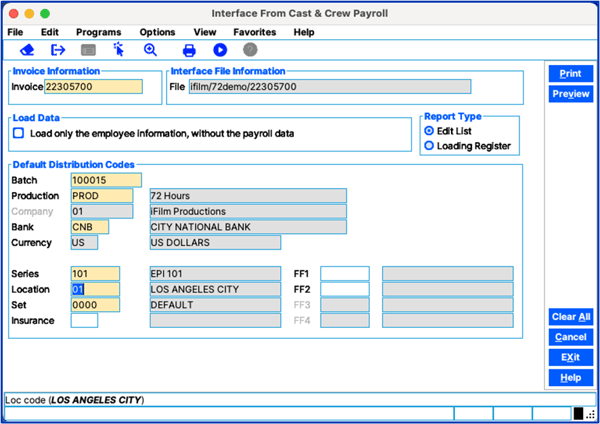
Please Note: Series, Location and Set fields are required to be filled in before importing. In case the payroll file has an incorrect coding or a blank coding, PSL+ will then use these defaults to code distribution lines. You will have a chance after the import is complete to make any changes.
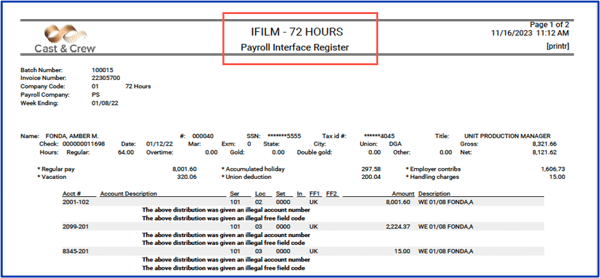
Edit List vs. Loading Register
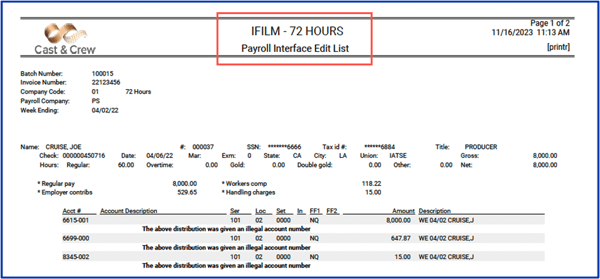
Both reports have the same detailed payroll information that will be imported into PSL+. The only differences are the Edit List will detail any errors on the invoice before loading and the header description on the report.
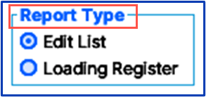
Once you have reviewed the edit list and are ready to load the file, select Loading Register.
After selecting Loading Register and hitting Print, this prompt will appear:
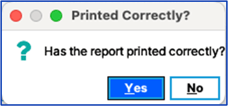
- Yes = The invoice file will load.
- No = The invoice file will not load and bring you back to the “Interface from Cast & Crew” program.
After acknowledging the report printed correctly by selecting Yes, the following prompt will appear, which provides the Reference number the payroll invoice was loaded into:
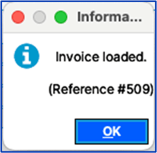
THE LOADING PROCESS IS NOW COMPLETE
2. Open - Payroll Entry
Enter the given Reference number in the Number field.
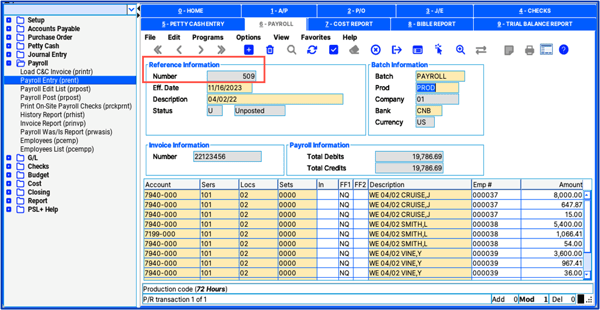
- The Employee number is automatically assigned by PSL+ and should not be changed.
- Modifications to the Account number, Series field, Location field, Set field, Insurance code, Free Field codes, and Description can be made here.
- If you need to change an amount, you must first split the line and make sure to keep the amount the original amount.
- Splitting a line: Place the cursor on the line to split
- Press the F4 key or plus sign on the toolbar.
If you do not have any modifications to make and are complete, click the Accept icon.
3. Open - P/R Payroll Edit List/Payroll Post
The P/R Distribution Modification process is now complete.
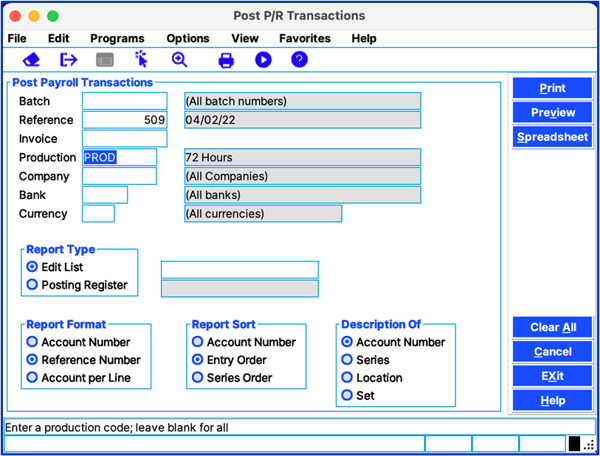
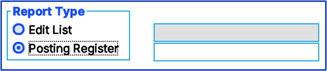
EDIT LIST VS. POSTING REGISTER
- Payroll Edit List: Allows you to run a detailed register on the data that will be posted.
- Posting Register: Generate the exact same information but will then prompt you to finalize the last step of the posting process
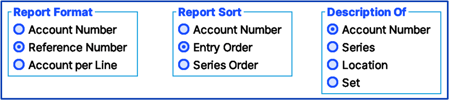
Both reports allow you to customize the format and sort options by check-marking the desired options here:
Once you are ready to post, checkmark “Posting Register” and choose from one of the following:
- Print – Will be sent to the printer
- Preview – PDF version of the report
- Spreadsheet – Excel spreadsheet version of the report
![]()

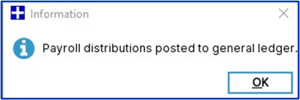
PSL+ will confirm the following:

- Yes – The invoice file will post to the ledger
- No – The invoice file will not post and will bring you back to the “Post P/R Transactions” Program
Please Note: If you would like PSL+ to generate an AP invoice automatically, contact psl.support@castandcrew.com to turn this feature on.
Please provide the following info:
- The Vendor ID number for the Vendor that you will be paying the invoice to.
- Any holiday and/or vacation approval accounts that may be getting paid at any point during the production. This will allow us to exclude these accounts from the AP invoice.
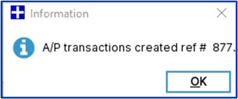
If you have the “Automated AP“ setup, PSL+ will prompt the following step:
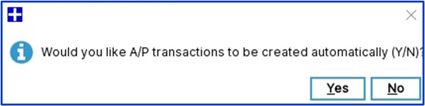
- YES – An AP will be created using the C&C invoice.
- NO – An AP will not be created at this time. You will be able to manually input the AP later if you choose.
YOU HAVE SUCCESSFULLY LOADED AND POSTED A PAYROLL INVOICE INTO PSL+
Print Payroll Checks
The Print Payroll Checks screen allows you to print onsite / location payroll checks from the convenience of your own computer.
The accountant is notified by email that the payroll check file is available to print from PSL+. If this is your first time printing payroll checks, it is recommended to print a test alignment to ensure that all check form fields are printed in the designated positions.
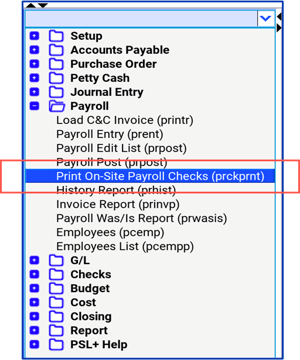
Open: To access the Print Payroll Checks screen, click the Payroll module from the menu tree (see following screenshot). You can also access this screen by typing the screen or acronym name in the blue prompt bar located above the “Setup” menu. Then press Enter.
![]()
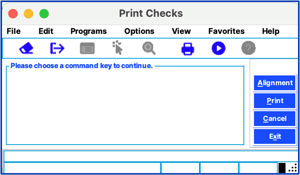
Alignment and Check Printing
Alignment
If this is your first time printing payroll checks, it is recommended to print a test Alignment Form to ensure that all check forms filed are printed in the designated positions. Press the F1 Key, then ‘A’ option or select ‘Alignment’ located in the top right-hand corner. Contact PSL+ Support for a walk-through of this process.
After the alignment is complete, make sure to put in the correct toner and check stock for payroll checks. Press the F1 Key, then the 'P' option or 'Print' located in the top right-hand corner to choose the Payroll Check file you wish to print from the list. All invoices that have not been printed will display on the pick list.
Please note: Payroll check files are printed one at a time
Warning: If you click 'Cancel' before the payroll is completed, the Payroll file will be closed out and cannot be reloaded. This action is a security feature of PSL+. You will need to email PSL+ Support to have the Payroll Check file resent.
Note: If you need to reprint Payroll checks for any reason (e.g., wrong toner, forgot to load in check stock, etc.) and need them to be made available again, please provide the invoice number and/or certain check numbers along with the reason for the reprint.