| Check out all of our Studio+ courses in Learning On-Demand. |
This article shows you how to perform this task in both Classic and New experiences.
Steps for Classic Experience
Once paperwork has been processed and is complete, it is important to move it into the “Completed” folder to stay organized and easily view only new documents that have been added by your payroll coordinator. Documents can be moved to the “Completed” folder in bulk, or individually.
- Double-click the FROM Cast & Crew or FROM Caps folder.
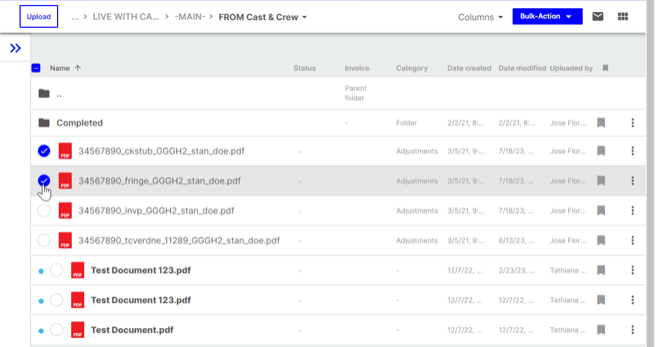
- Select the circle to the left of the document(s) that you want to move.
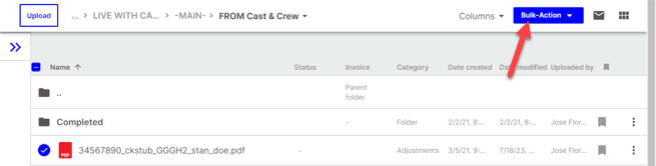
- If moving multiple files at once, click Bulk-Action in the top right.
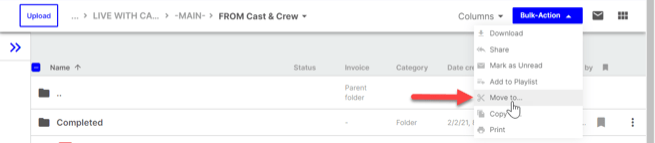
- In the drop-down, select Move To.
- Select Completed in the folder path.
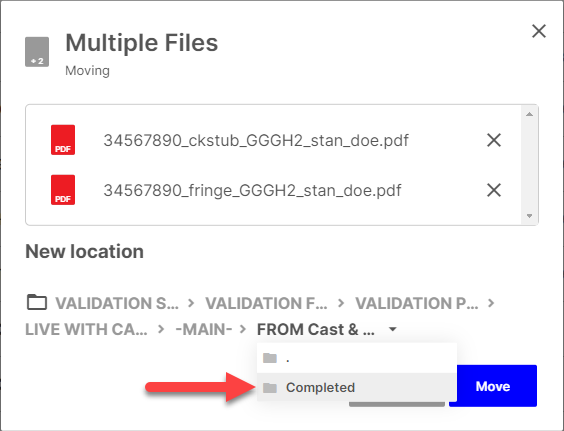
- Click Move.
- You can view your files by double-clicking into the Completed folder.

Steps for New Experience
Once paperwork has been processed and is complete, it is important to move it into the “Completed” folder to stay organized and easily view only new documents that have been added by your payroll coordinator. Documents can be moved to the “Completed” folder in bulk, or individually.
- Double-click the FROM Cast & Crew or FROM Caps folder.
- Select the checkbox to the left of the document(s) that you want to move.
- If moving multiple files at once, click Move to... in the bulk action menu at the bottom of the screen.
-
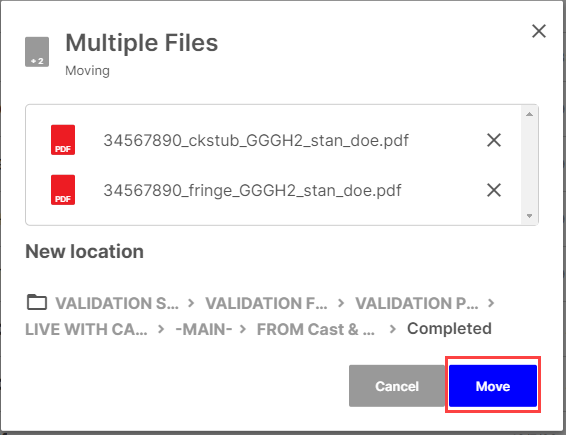
Click the pencil icon/area under "New location" to update the destination path of the file(s).
- Choose Completed in the folder path and then click Select.
- Click Move.
- You can view your files by double-clicking into the Completed folder.