Studio+ offers integration with our payroll system, which gives you access to your payroll edits and invoices directly in Studio+. You also can share files such as start paperwork and timecards with your Cast & Crew payroll coordinator.
Jump to a section in this guide
Watch: Working With Payroll Files and Folders
Using Filters to Find Your Payroll Files
Watch: Working With Payroll Files And Folders
Click here to view a file guide to help you get started with Studio+ for Payroll.
Navigate to a Project
Once you sign in to MyCast&Crew with your credentials and select Studio+ from the homepage, you will need to navigate to a project to view payroll files. By default, Cast & Crew folders exist at the project level. If you require additional folders to control access, you can work with your implementation specialist.
Projects can be found by navigating through Studio+ or by utilizing the Search bar at the top of the screen.
To navigate to a project:
- Click Home in the top navigation bar and select your organization.
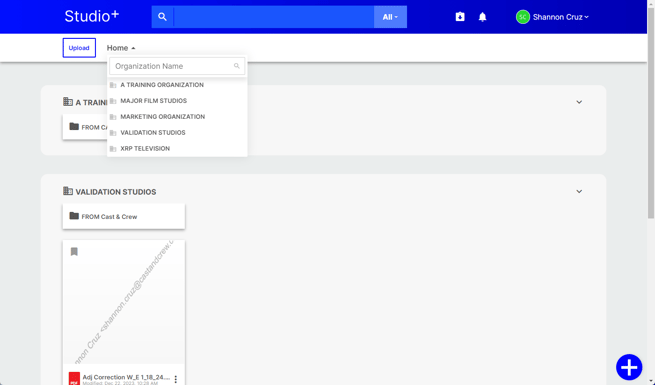
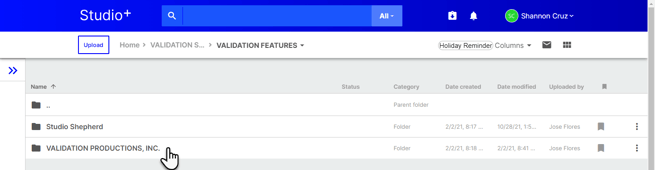
- Double-click the producer folder.

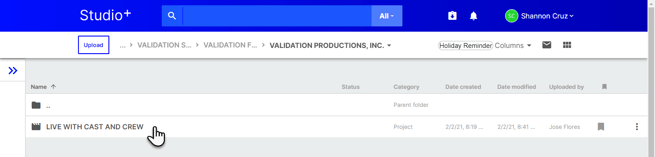
- Double-click the production company folder.
- Double-click the project folder.
- Double-click MAIN for Studio+ payroll files.
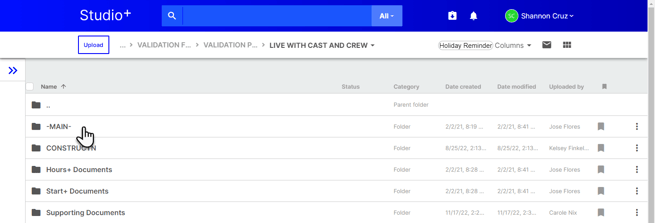
- Here you’ll see FROM Cast & Crew and TO Cast & Crew folders. Double-click the FROM Cast & Crew folder to see payroll files sent from Cast & Crew.
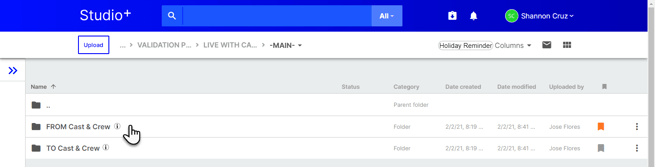
Cast & Crew Folders
The TO Cast & Crew folder
Use this folder to upload your start documents, timecards, and any other files you want to share with your Payroll Coordinator. Your Coordinator can view, print, and move these files, but they cannot delete them.
The TO Cast & Crew folder also has the Adjustment Corrections folder, which is used to upload any corrections needed to be made for adjustment invoices.
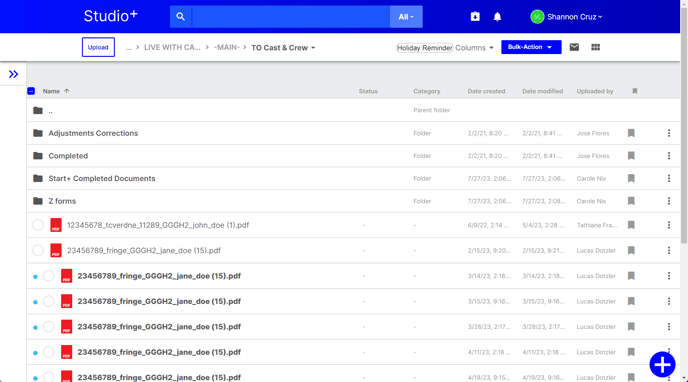
If your project is using Start+, you and your payroll coordinator can now access all your Start+ completed crew documents under the TO Cast & Crew folder.
The FROM Cast & Crew folder
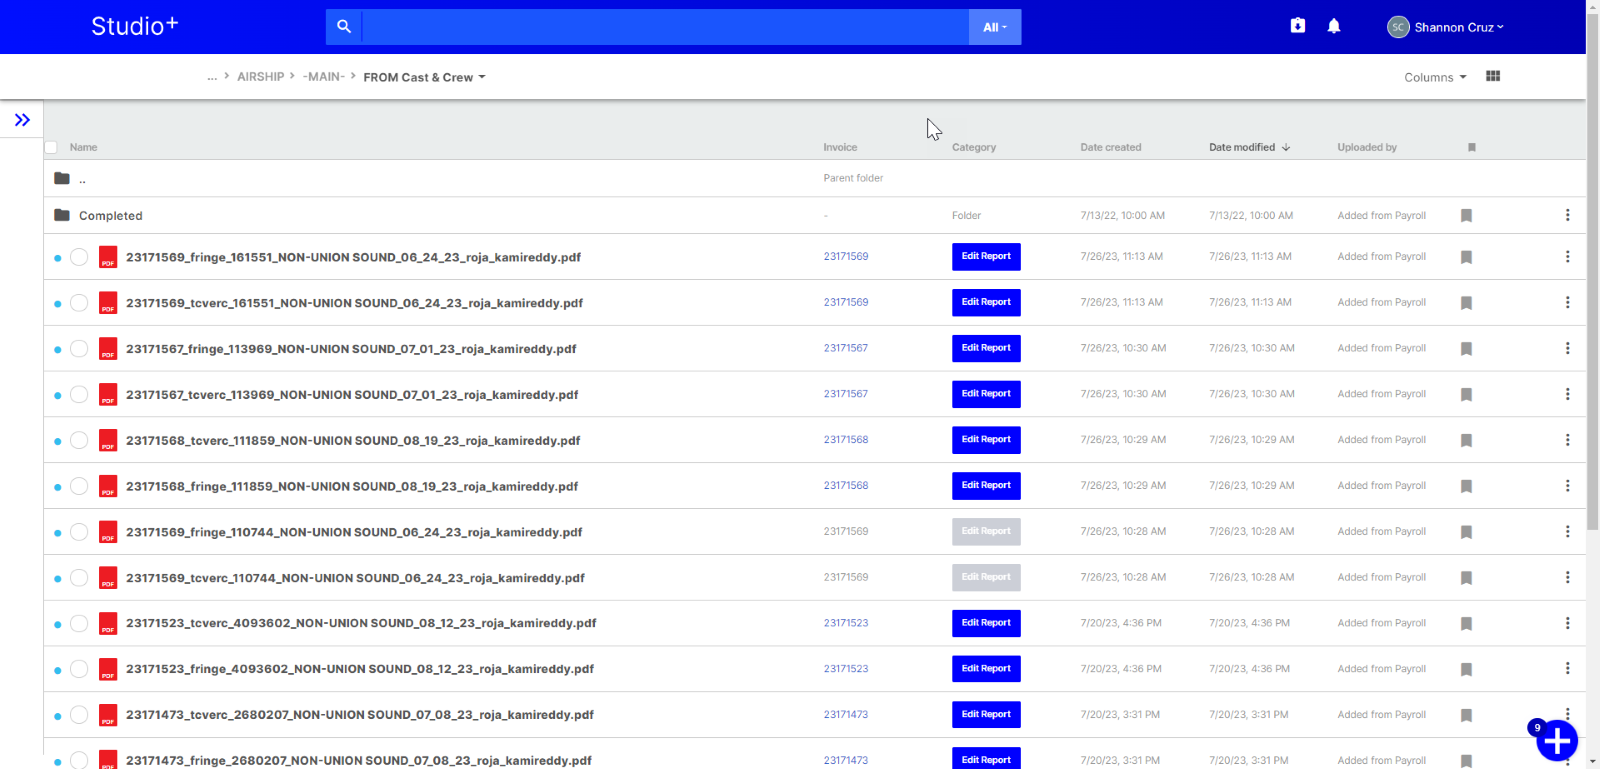
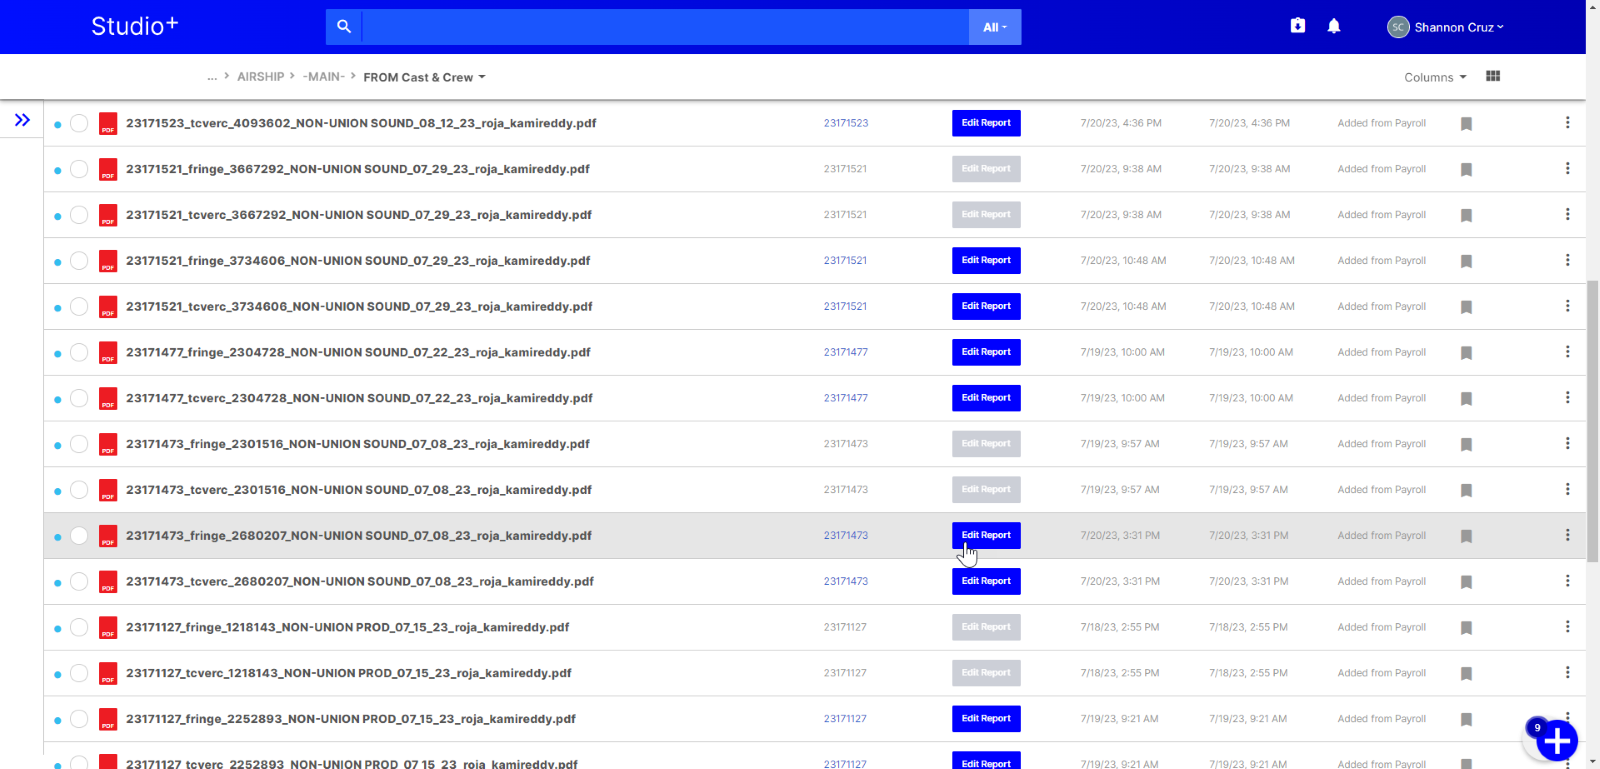
Cast & Crew automatically uploads payroll reports to this folder for you to retrieve. These files are marked as “Added from Payroll.”
Though your Cast & Crew payroll coordinator can view these files, they cannot delete them.
Invoice Information
You’ll see the invoice number for the file under the ‘Invoice’ column. You’ll also see new “Edit Report” and “Invoice Approved” categories in the ‘Category’ column.
- Edit Report reflects the current TCVER report, which includes breakage and coding details for the current payroll. Only those with invoice approver permission can review these reports digitally
- Approved Invoice reflects the finalized payroll invoice and grand total
Invoice Approver Functionalities
If you have the Invoice Approver permission, you'll see the 'Edit Report' and 'Approved Invoice' categories as blue buttons.
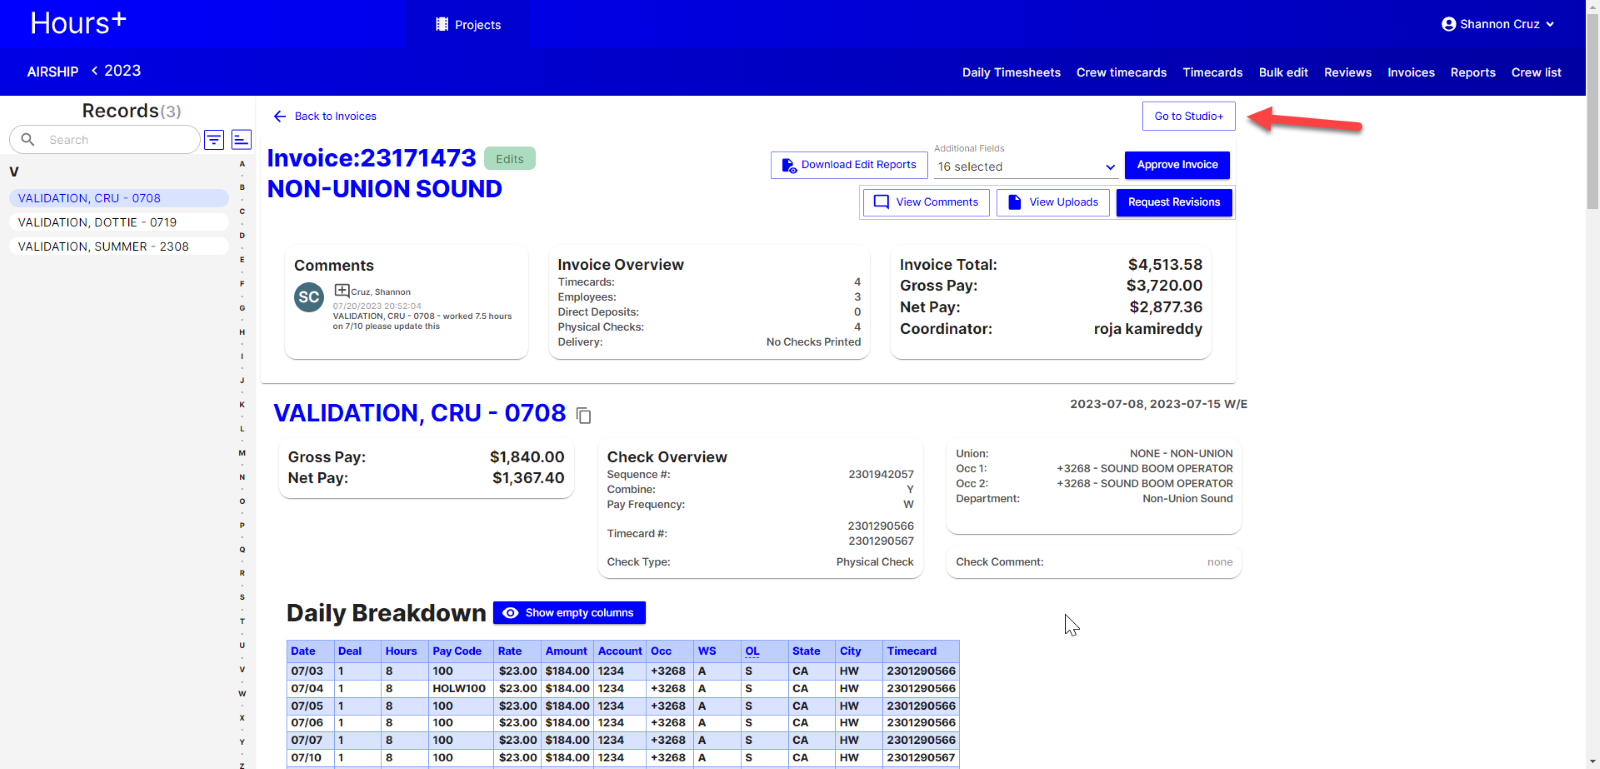
You can click the button or the invoice number to view the file digitally on a new page and approve the edit or request revisions.
To return to Studio+, click the Go to Studio+ button in the top-right of the screen. Click here to view a detailed step-by-step guide and video on approving invoices and requesting revisions.
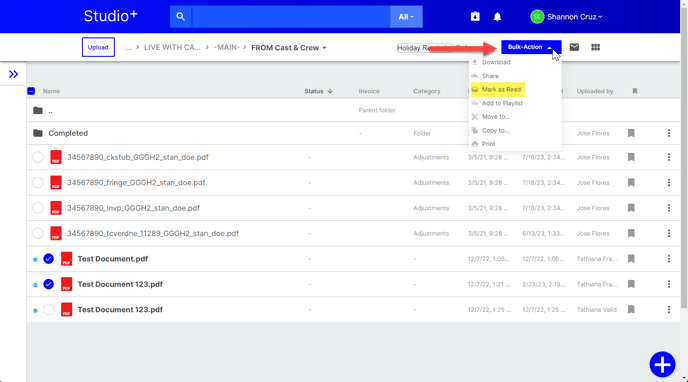
When files, you can mark them as read or unread to make them easier to manage. Moreover, you can mark them in bulk or individually.
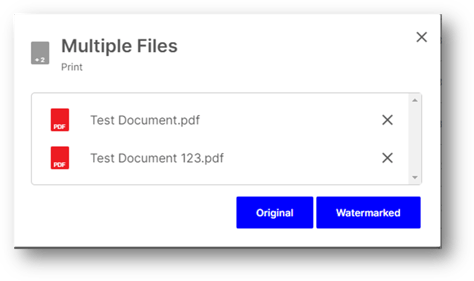
You can also print multiple files in bulk or individually.
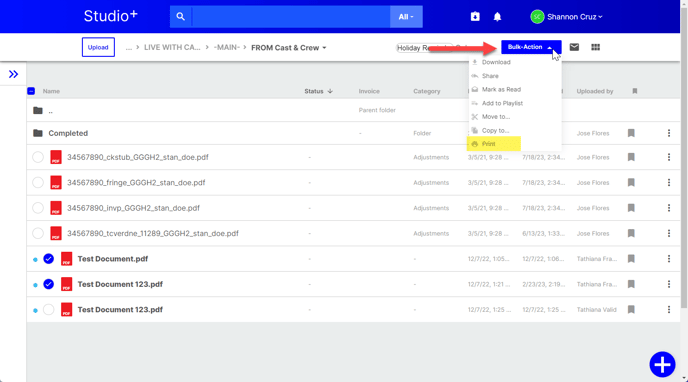
Depending on your permissions, you can choose to print the original files or watermarked files.
The Completed folder
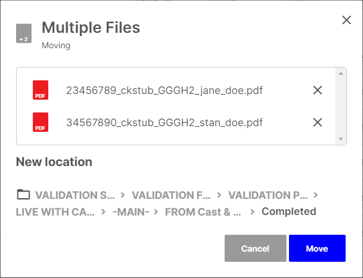
Once documents have been processed and are completed, it is important to move them into the Completed folder to stay organized and easily view only new documents that have been added by your Payroll Coordinator. Documents can be moved to the Completed folder in bulk, or individually.
- Click the circle to the left of the document(s) that you want to move.
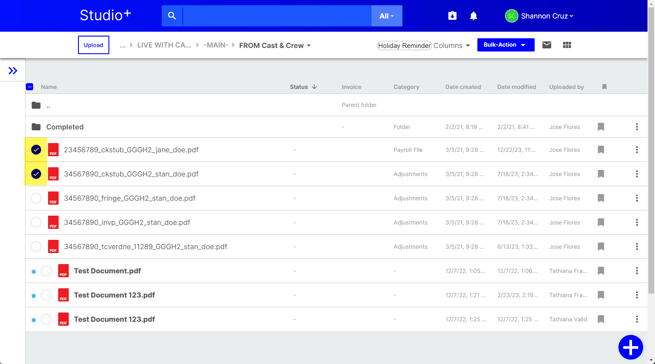
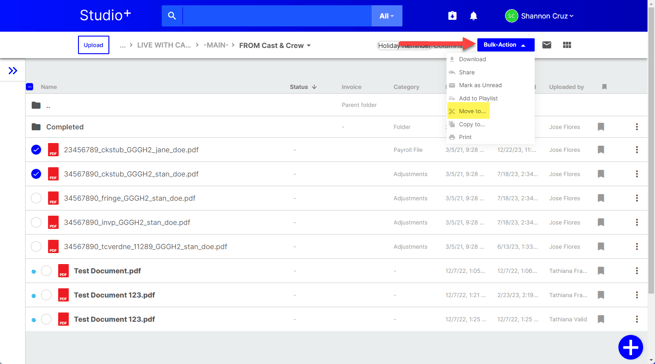
- You can drag and drop a single file into the completed folder or if you’re moving multiple files at once, click Bulk Action in the top right.
- In the drop-down, select Move To.
- Selected the Completed folder path.
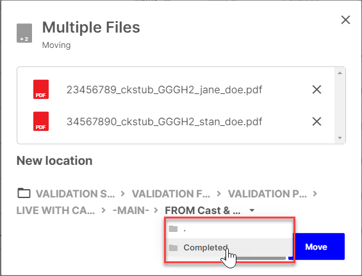
- Click Move.
- You can view your files by double-clicking the Completed folder.
Using Filters to Find Your Payroll Files
Studio+ offers convenient, easy-to-use filters to help you locate your files quickly.
Click the double arrow icon '>>' near the top left corner of your screen. This will expand the Filters sidebar.
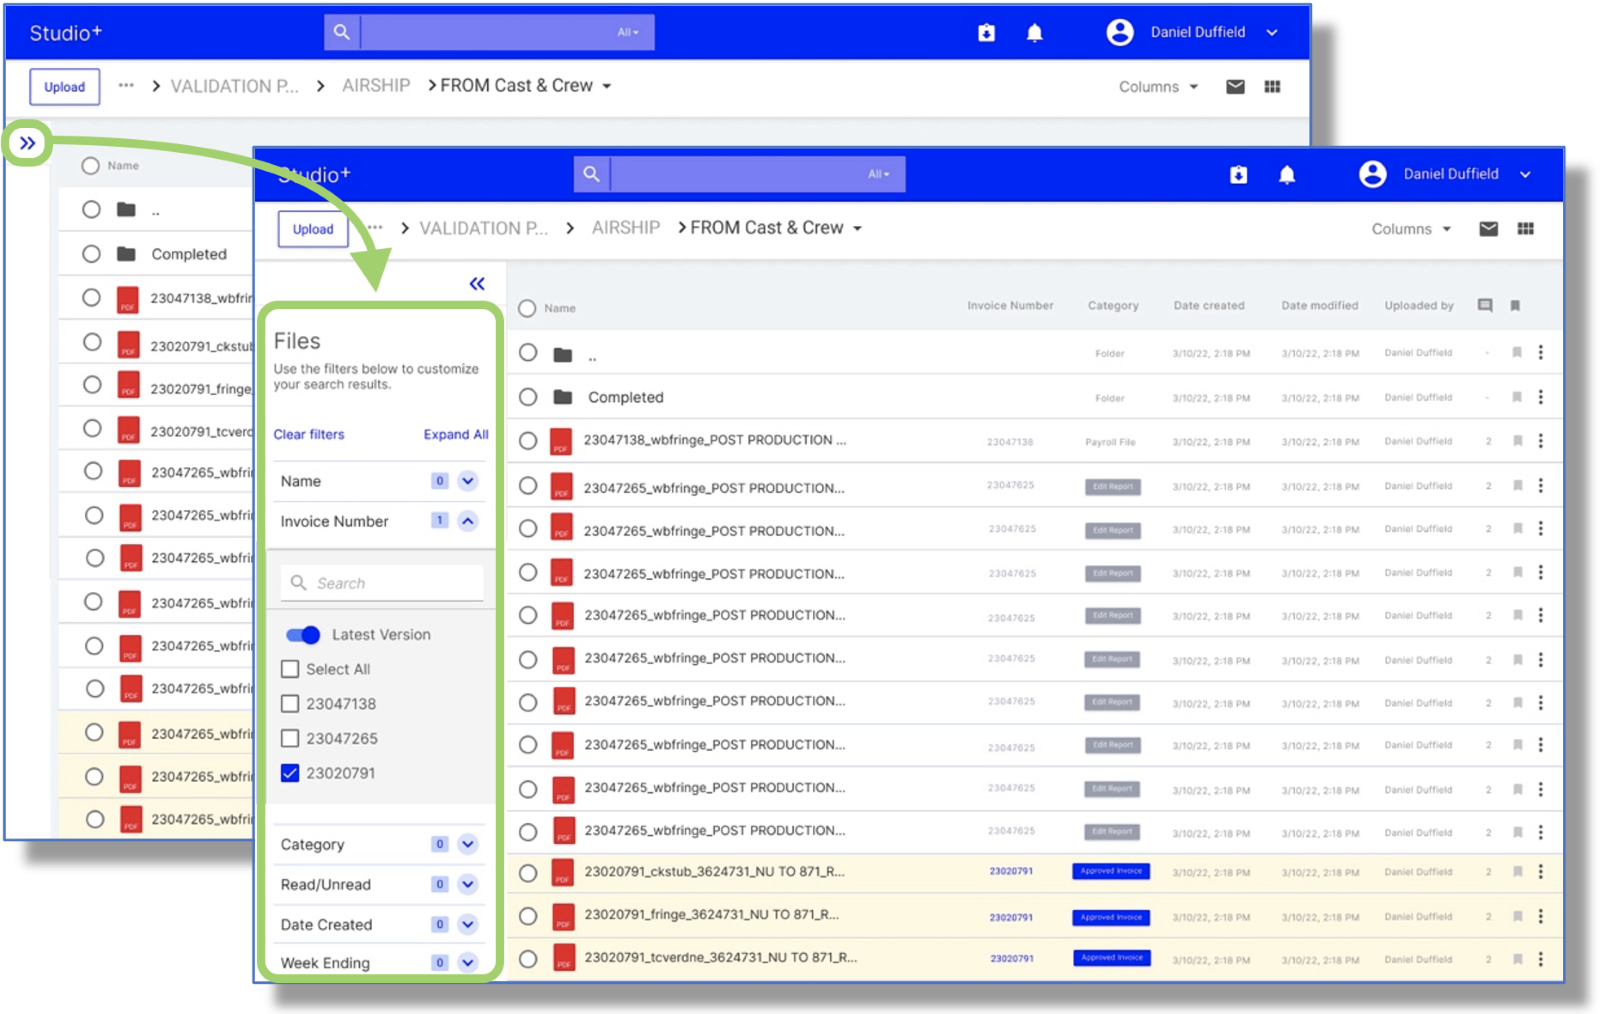
The following filtering options are available:
- Name
- Invoice Number
- Category
- Read/Unread
- Date Created
- Week Ending
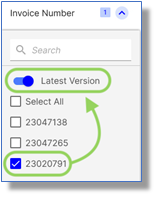
You can also filter by 'Latest Version' by toggling on this option. This will let you view only the latest version of each file that matches your filter selection.
Some other options you have in regards to filtering:
- Multiple filters: You can mix and match filter selections to find exactly what you're looking for
-
- For example: Search for 'Unread' files in the 'Payroll file' category
- Multiple values in a single filter: You can select one or more values in each filter to ensure you see all the information you need at once
-
- For example: Search for only invoice number '1234' or for invoice numbers '1234, 5678, and 9012'
Notifications
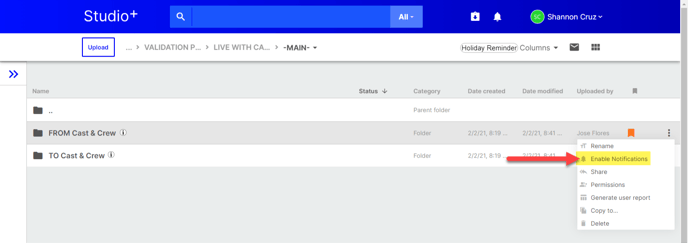
It is recommended that you turn on notifications for all FROM Cast & Crew folders to receive an email notification whenever new payroll files are uploaded to this folder.
To enable notifications, click the 3-dot menu located to the right of a folder and click Enable Notifications.
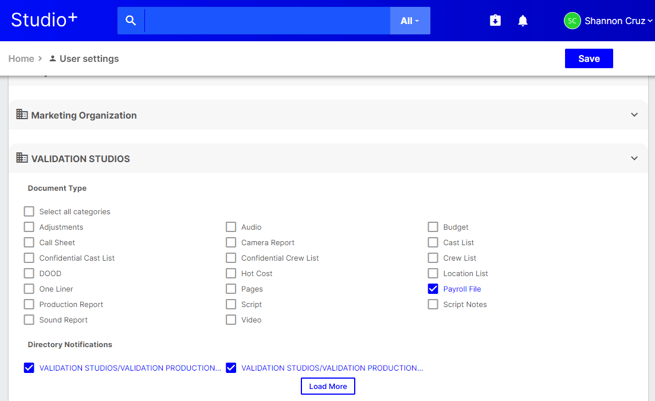
Likewise, you can customize individual notifications that you wish to receive by specifying a category. This means you’ll be notified when files that have a certain category applied to them are uploaded, regardless of their destination folder.
Note: If you have turned on folder-level notifications that conflict with a category-enabled notification, the folder-level notification will control the notifications you receive and you will receive notifications regardless of category assigned to files that are uploaded under that folder. If you’d like to receive notifications by category only, you can always disable the folder-level notification.
- Click your name in the top right corner of the screen and select Edit User Settings.
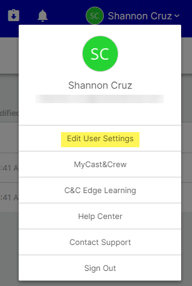
- Under “Notifications,” select which document types you’d like to receive notifications for.
You can see all new notifications by clicking the bell icon at the top of the page.

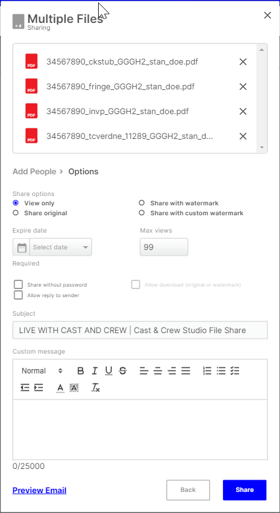
Sharing files
We’ve made it easier to manage the payroll workflow by providing a safe, secure environment for exchanging files with your payroll coordinator as well as other people who have been added to your organization. You can share multiple files in bulk or individually.
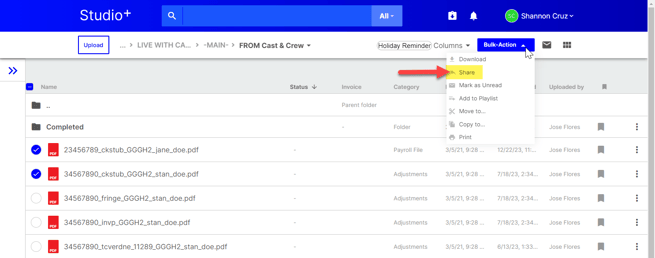
- Select the file(s) you’d like to share.
- To share an individual file, click the 3-dot menu near the file or click Bulk-Action if you’re sharing multiple files.
- Select Share.
- Enter the user(s) you would like to share the document with. Keep in mind that these users should already be added to your organization before you can share files with them. Click Next.
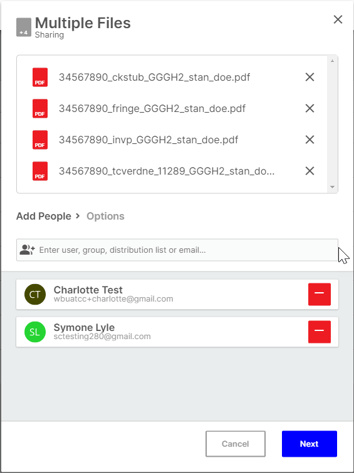
- You have the flexibility to customize share preferences, however, you’ll be required to select an expiration date and a maximum view limit. When utilizing these preferences, users can simply click a link to access the file. The password will be sent to the user in a second shared email.
- You can also enter a custom message to be inserted into the shared email.
- Click Share to finish.