If you'd like to learn about this topic in a video format, check out our course in EDGE On-Demand.
Jump to a section in this guide:
Understanding the All Approvals Tab
The final step in the offer workflow is for users with Approver permissions to review and execute the documents on behalf of the production.
Note: Based on document requirements, Approvers may be asked to click Approve on a document that does not require their signature, otherwise known as "e-consent."
When you first log in, navigate to your "Approvals" dashboard, which contains two tabs:
- Ready for Approval: Allows you to view offers requiring your approval and signature.
- My Approval History: Allows you to view offers that have been accepted and approved.
Approve or reject an approval
Start+ will automatically route documents to the "My Approvals" queue. You'll also receive a daily digest email when it's time for you to approve the documents.
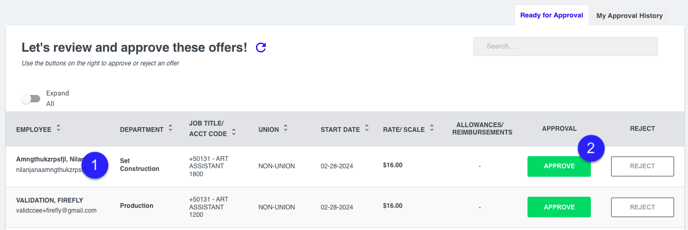
1. To review the deal points of an offer before approving, including the crew member’s occupation rate, allowances/reimbursements, and offer documents provided, click an employee’s name to expand their offer row.
Note: This is not a required step--all details will also populate on the documents during the signing process.
2. Click Approve to begin the signing process. This will also show you the information on the documents. If deal points are not as agreed, click Reject. All rejections in Start+ will require a reason for the rejection.
Note: All rejected offers will be sent back to the person that created the offer and will need to go back through the workflow.
Signing Documents
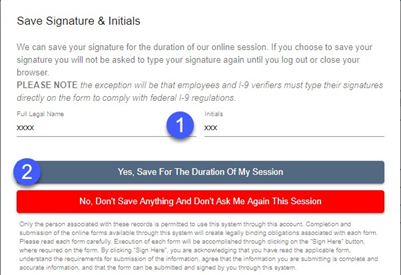
After you click Approve, you'll need to enter your full name and initials which will be used as your signature for signing documents.
1. Enter your full legal name and initials as they appear when you were sent an invitation to Start+.
2. (Optional) Click Yes, Save For the Duration of My Session to save your signature and initials. If you log out or close your browser, you will be asked to enter the information again when you return to Start+.
3. On each document requiring you (the approver) to sign, click the Sign Here icon ![]() to apply your signature and the Date icon
to apply your signature and the Date icon ![]() to apply the signing date.
to apply the signing date.
4. Once all documents are signed and dated, click Approve Offer to complete the approval and send the document to the next approver in the workflow.
![]()
- If any of the deal points are not as agreed, click Reject.
- All rejections in Start+ will require a reason for the rejection.
Note: All rejected offers will be sent back to the person that created the offer and will need to go back through the entire workflow.
Understanding the My Approval History Tab
The My Approval History tab shows the current status of an offer that was approved by an Approver.

The Approval Statuses are:
-
Pending Approval: Awaiting additional approvals. The Employee has signed and submitted the offer, but all approvals have not been completed.
-
Approved: Offer documents, including the I-9, have been approved. The approved documents can be viewed and downloaded in the Offers Documents tab (if the approver has been provided permission).
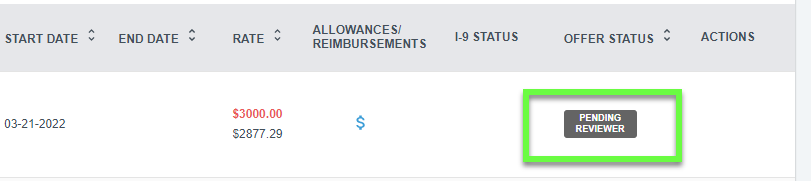
- Pending Reviewer: Offer documents are still sitting with production and another approver.