Learn how to easily input your allowances on your timecard in Hours+.
Jump to a section in this guide
Add Allowances to your Timecard
What are Allowances?
Allowances refer to additional payments or benefits provided to crew members beyond their base wages. These allowances can vary widely depending on the nature of the production, the specific role of the crew member, and any unique requirements of the job.
In most cases, allowances must be approved by the production management and accounting teams prior to being paid on timecards. Allowances ensure crew members are adequately compensated for specific equipment rentals or circumstances beyond their base pay rate.
Set Up Default Allowances
To streamline the process of adding your allowances to your timecard, you can set up default allowances in your Profile Preferences in Hours+. Default allowances are saved across all projects you have access to in Hours+.
This minimizes the need for manual entry each time you add an allowance to your timecards and is useful if you have the same allowances week after week.
To set up Default Allowances:
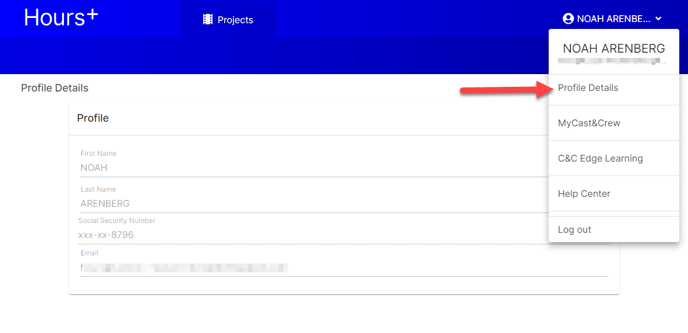
- After you've logged in to Hours+, click your name in the top-right corner and select Profile Details.
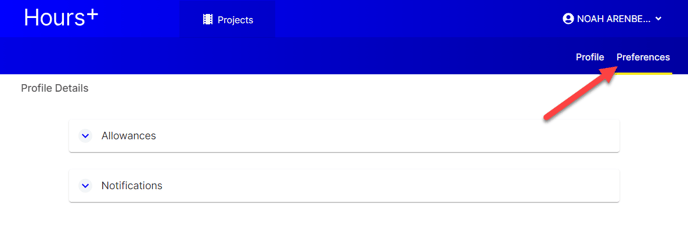
- Click the 'Preferences' tab located under your name.
- Click Allowances to expand the section.
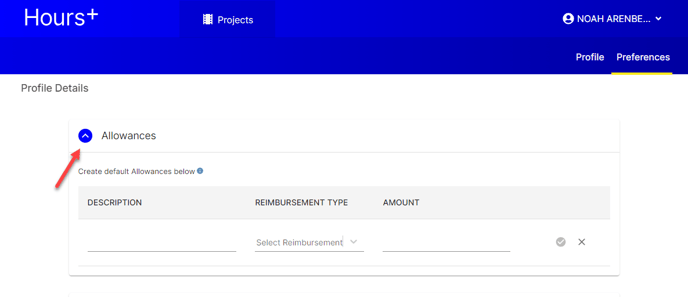
- Input the Description of the allowance (this is what you'll see when you select the allowance on your timecard), the Reimbursement Type (this is what the payroll accountant will see when they view your timecard), and the amount of the allowance. Since default allowances are saved across all projects, we recommend adding the project name to the description so you know which one to select on your timecard.
Example: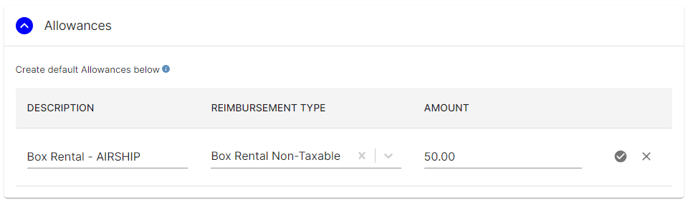
- Click the checkmark to save.
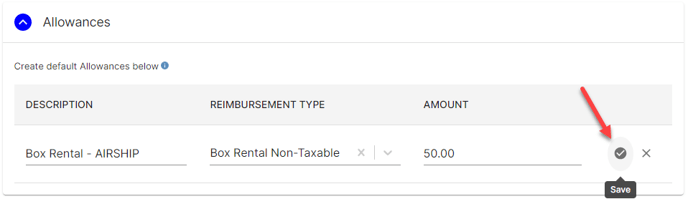
- The default allowance you just entered will appear in the table. To edit it at any time, click the pencil icon. To delete it, click the trash icon.

Add Allowances to Your Timecard
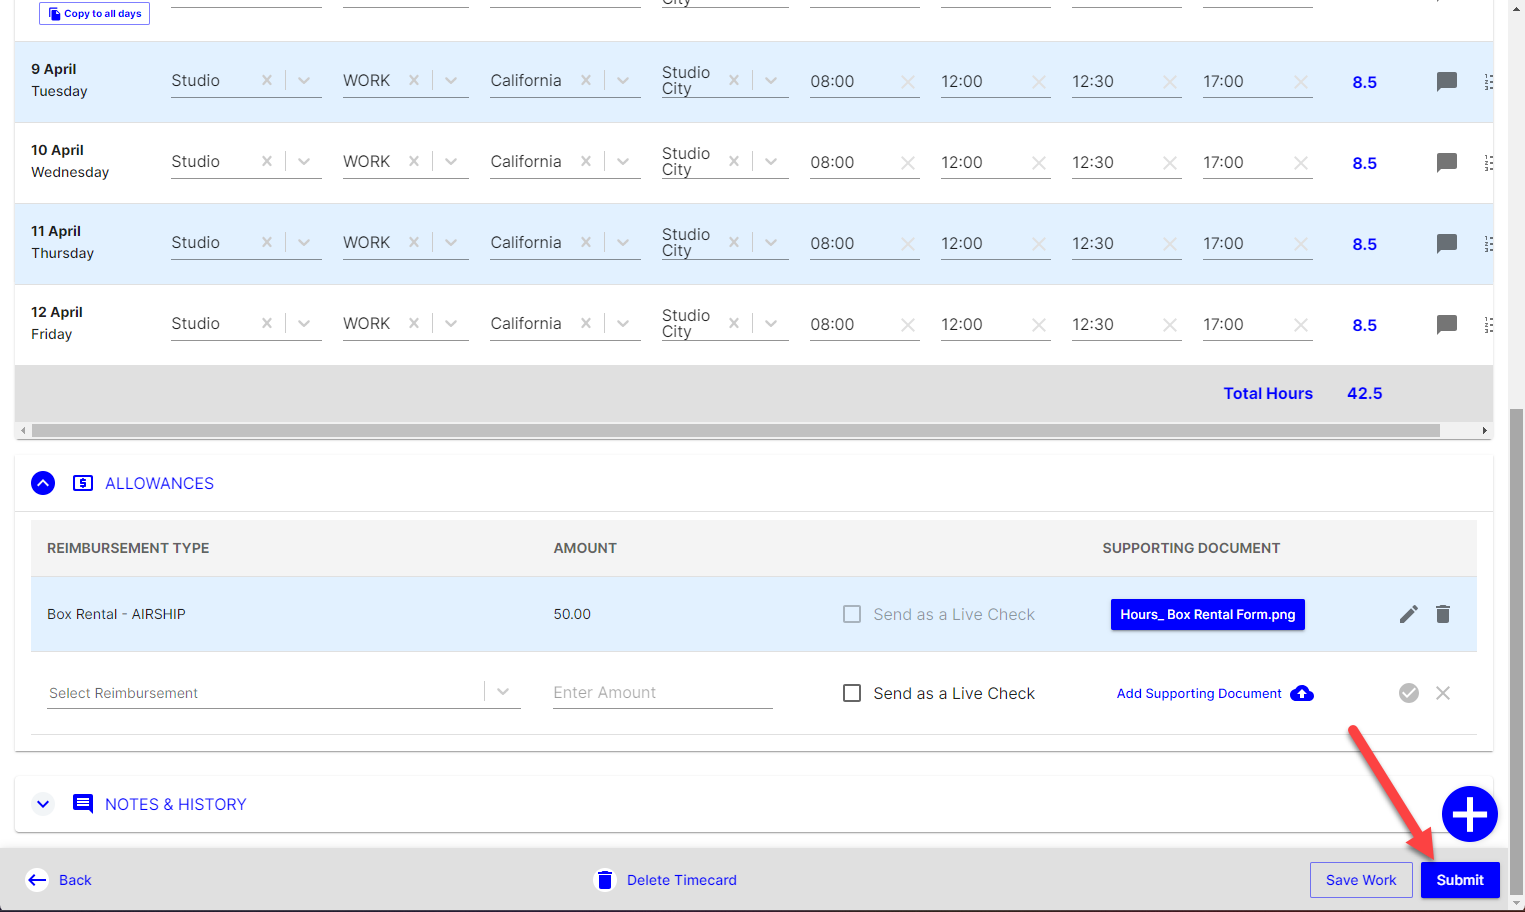
- Head to your timecard in Hours+. Under “Allowances,” enter the allowance type in the “Select Reimbursement” field by clicking and selecting from the drop-down.
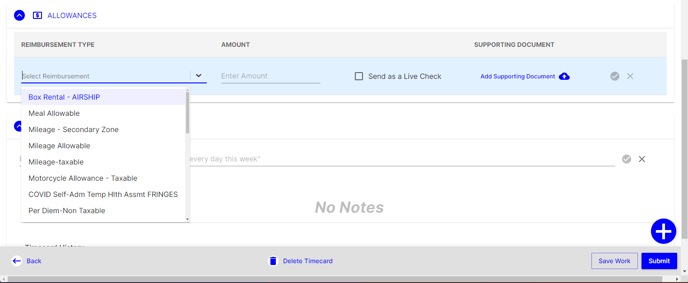
- Enter the amount in the “Amount” field (without any special or alpha characters).
- For example: “50” or “13.14” is acceptable, “$50” or “$50/week” is not.
- This field will automatically populate for selected default allowances.
- If you'd like your allowance to be sent as a physical check separate from your paycheck or direct deposit, select Send as a Live Check.
- Attach supporting documentation, such as a kit inventory form or mileage log if necessary.
- Click the check mark at the end to submit the allowance.

- When you’re done, you’ll see the entry you just submitted on your screen and a new line to enter additional allowances if needed, similar to the one below:

Your allowance(s) will be submitted with your timecard after you fill out all necessary fields and click Submit.